There’s a certain degree of expertise that gas appliances installation demands. Not only does this process require thorough knowledge, but it also calls for a high level of precision and safety consciousness.
In this piece, we will delve into the core aspects of gas appliances installation, providing you with essential information about the procedure. Our list below highlights key points to consider.
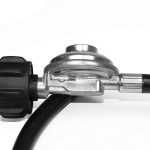
- Recognising the correct gas connector: This step is essential for your safety and the efficiency of your appliance. Identifying a suitable connector ensures optimal performance and durability.
- Turning off the gas valve: An imperative safety measure during gas appliances installation. It prevents possible gas leaks and resultant hazards.
- Wrapping gas valve threads safely: Proper wrapping guarantees a secure connection, reducing potential leaks.
- Connecting the Gas Tube: This includes connecting the tube safely to ensure a tight fit and secure connection.
- Checking for potential gas leaks: Regular assessment post-installation is necessary. It prevents possible dangers and guarantees your system’s longevity.
- Gas appliance maintenance and repair: Keeping your appliances in top shape ensures their efficiency and prolongs their lifespan. Regular maintenance and repairs, as necessary, are key.
We have aimed to summarise the most pivotal elements of safe and efficient gas appliances installation.
An Overview of Successful Gas Appliance Installation
Installation of gas appliances may seem daunting due to its complexity. Nevertheless, with careful attention to specific steps, it can be done securely.
In addition to these steps, using appropriate tools is critical for proper installation and avoiding complications down the line.
Beyond just installation, proper maintenance can ensure improved efficiency and durability of your gas appliances.
Ultimately, it’s about safeguarding your household and providing a seamless experience with your gas appliances.
Contents
- Recognising the Correct Gas Connector
- The Importance of Turning Off Gas Valve
- Steps to Wrap Gas Valve Threads
- Connecting the Gas Tube Safely
- Attaching the Street Elbow: A Guide
- Tightening the Gas Connector Nuts
- Checking for Potential Gas Leaks
- Final Step: Sliding the Range into Place
- Preparing for Gas Appliance Installation
- Essential Safety Precautions for Installation
- Converting an Electric Stove to Gas
- Maintenance and Repair of Gas Appliances
- Safety Ensured
Recognising the Correct Gas Connector
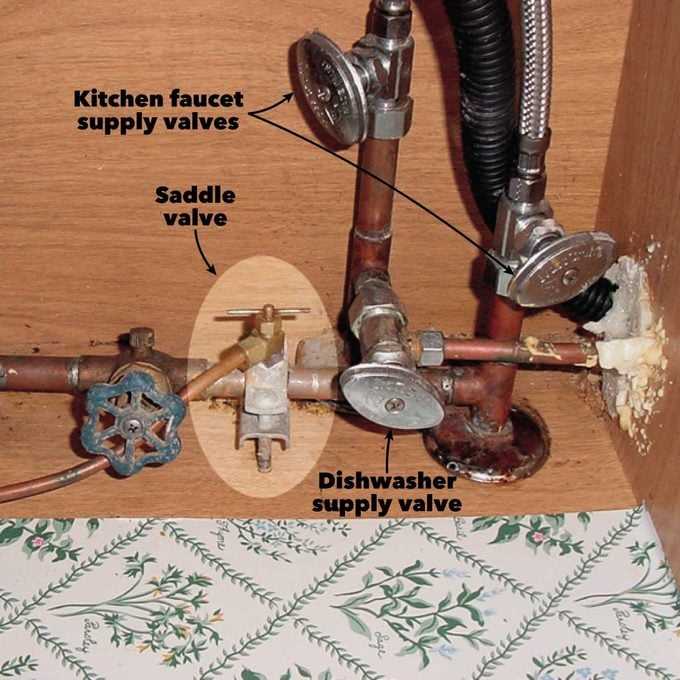
To accurately identify your gas connector, one needs to measure its diameter. This measurement should be matched against common sizes: 3/8 in ID (1/2 in OD), 1/2 in ID (5/8 in OD), and 1/4 in ID (3/8 in OD).
A gas appliance kit can provide a flexible stainless steel gas line and other necessary fittings. This kit is especially useful when replacing an old steel gas pipe.
Linking to Steel Pipes
Replacement of a steel gas pipe might be required. This replacement can be done with a flexible supply line, which directly connects to the steel pipe thread.
Ensure to use appropriate flare fittings from your kit that match the size of your existing valve’s flare fitting. Before assembly, apply some pipe thread compound to all threaded pipe connections.
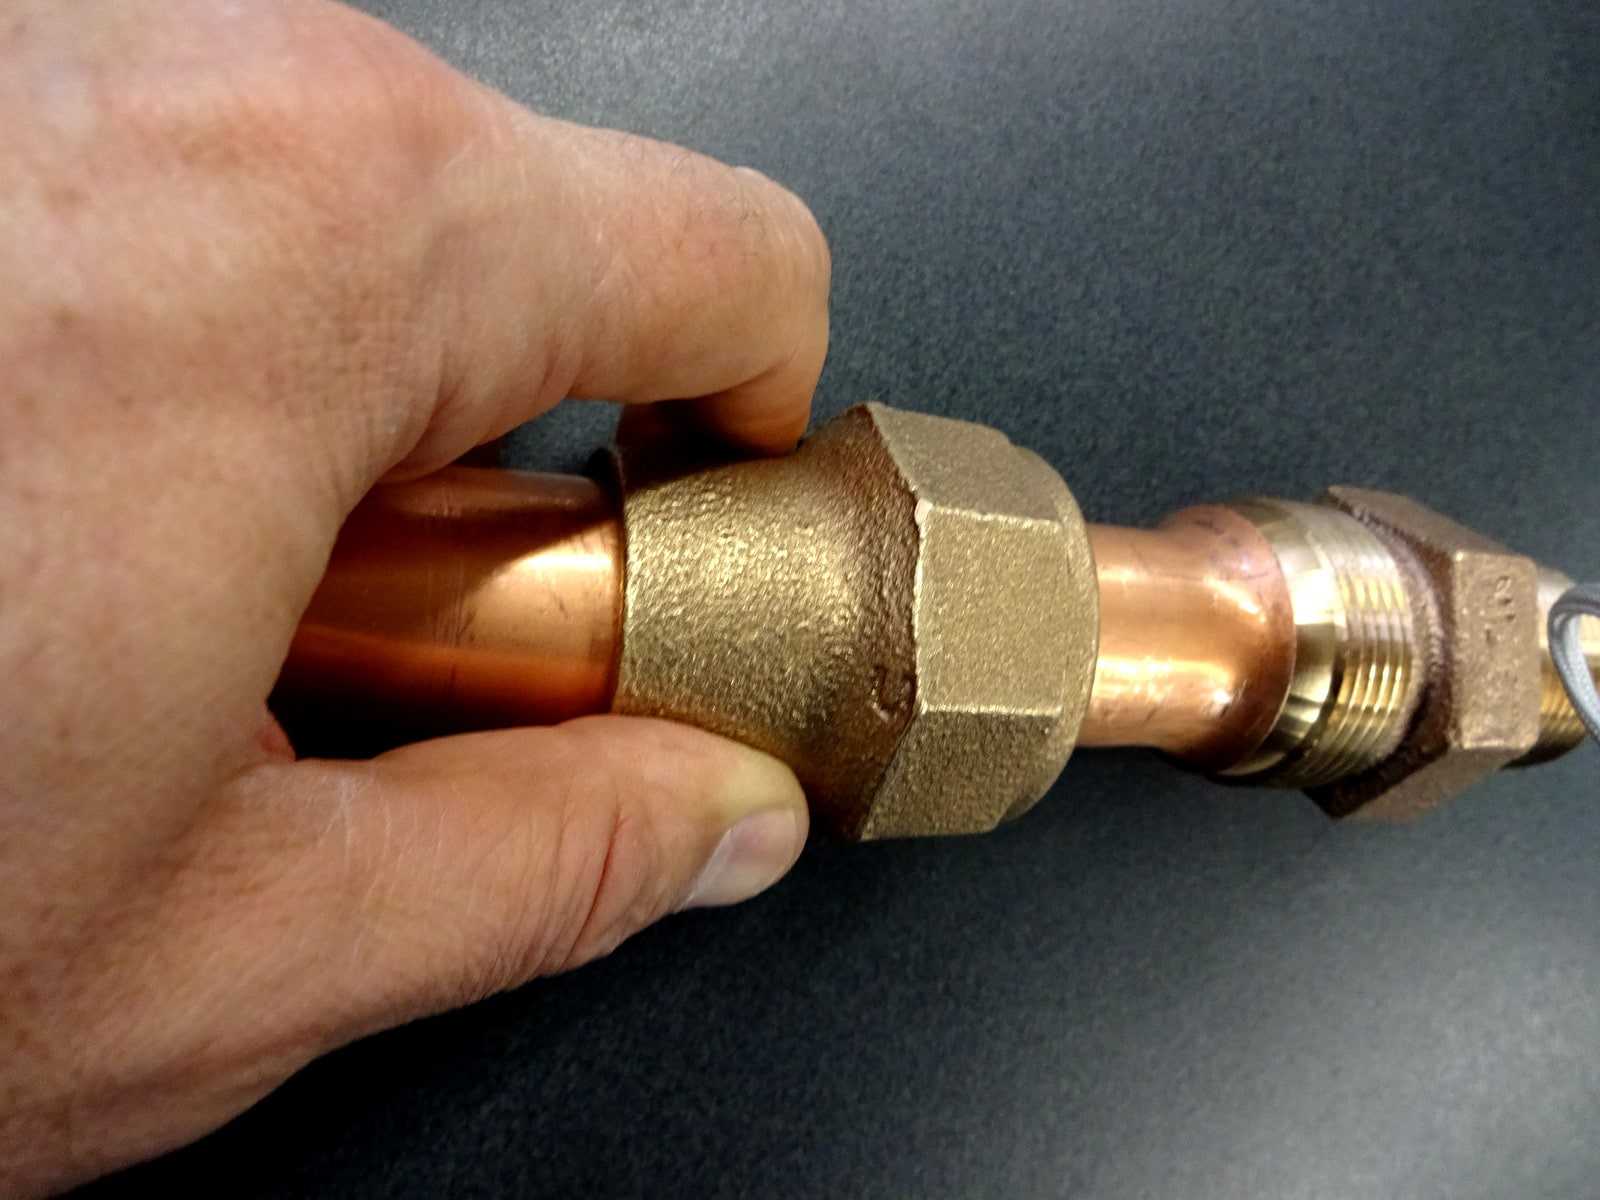
Connection with Soft Copper Tubes
If you’re dealing with soft copper tubes, flare the tube ends and install matching flare fittings. Strive to create a leak-proof joint by ensuring a perfect fit between the flared end and cone-shaped fitting.
Prior to assembly, it’s essential to apply pipe thread compound to the threads. The flare nut needs to be tightened using an adjustable or open-end wrench.
Finally, secure your work by testing for any possible leakages. An effective way of doing this is by using a dish soap solution.
The Importance of Turning Off Gas Valve
Understanding the importance of turning off the gas valve in your home is paramount for ensuring safety when using gas appliances.
Recognise the Risks
Unattended gas appliances can lead to accidental gas leaks, causing potential fires or explosions. Asphyxiation and combustion related to gas leaks can be devastating.
Avoiding Gas Leaks
Some common causes of gas leaks include loosely attached fittings, corroded pipes, malfunctioning parts, and incorrect installations.
Proactive Prevention Measures
Prevent gas leaks by periodically inspecting and maintaining your appliances and gas lines. Ensure that connections are correctly installed and always professionally service your appliances.
When to Turn Off the Gas Valve
It’s recommended to always turn off the gas supply to an appliance when it’s being installed, removed, serviced, or not in use for an extended period.
Safety Devices to Consider
Households should aim to install safety devices such as excess flow valves and shut-off valves to further ensure safety when handling gas appliances.
Identifying a Gas Leak
Gas leaks can be challenging to detect due to its odorless, colourless, and tasteless properties. Signs may include unusual noises, smells, bubbles forming around connections or unexpected high gas bills.
In Case of an Emergency
If a leak is suspected, immediately evacuate the area and contact emergency services. Avoid using any electrical items or open flames until it has been deemed safe to do so.
Maintaining Appliance Safety
Maintenance is key in ensuring gas appliance safety. Regular checks for damage, leaks or corrosion can greatly reduce the risk of accidents.
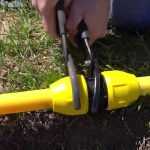
Steps to Wrap Gas Valve Threads
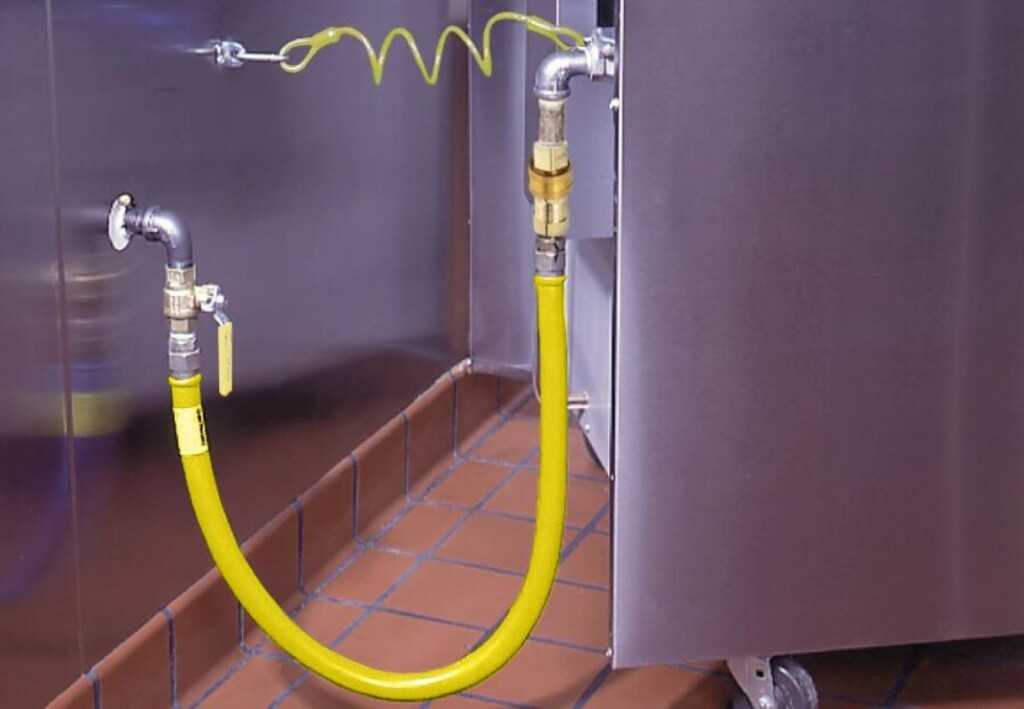
Wrapping gas valve threads requires careful attention. Start by wrapping the tape in the direction that the male threads tighten.
Typically, three wraps of tape are done before screwing the valve into place. This method is utilised in various commercial applications.
- Application Areas: Pressurized water systems, central heating systems, and air compression equipment.
- Tape Function: The tape lubricates for deeper seating of the threads and prevents them from seizing when unscrewed.
- Tape Type: Yellow thread seal tape, often labelled “gas tape,” is used on NPT threads from 1⁄2 inch to 2 inch.
- Colour Coding: Bill Bentley of Unasco Pty Ltd introduced colour codes for thread sealing tape in the 1970s.
The tape works as a deformable filler and thread lubricant, enabling a tight seal without making it harder to tighten.
We understand that it seems challenging. But with practice, you can make it easier, protect the threads from direct contact and physical wear and prevent leaks from the connection.
Connecting the Gas Tube Safely
What Factors Impact the Cost of Gas Line Installation?
Cost of gas line installation can vary according to different factors. These include whether the installation is new or a replacement, and if landscaping, foundation work, or repairs to drywall, concrete, or flooring are required.
How Does Material Choice Affect Installation?
The choice of pipe material can impact cost and durability. Pipe materials often used include steel, copper and plastic, each with their own benefits and drawbacks.
What Questions Should Homeowners Ask About Gas Line Installation?
Before installation, it’s vital to ask about licensing and insurance, obtaining necessary permits, the right pipe material for your needs, anticipated repair requirements after installation, safety measures taken to prevent leaks, displacement during installation, impact on landscaping, warranties or guarantees provided and unexpected additional costs.
What are Common Concerns Regarding Gas Lines?
Homeowners often have questions about gas line size, depth at which lines should be buried, lifespan of gas lines, and protocol in case of a leak. Looking for answers to these queries can help understand the process better.
What Materials are Used in Gas Line Installation and What are Their Costs?
The costs of materials per linear foot can vary – black iron costs $4.90 while copper ranges from $1 to $3, CSST from $2 to $4, galvanized steel from $2 to $9, HDPE from $1 to $2, iron from $5 to $9 and PVC from $0.25 to $2.
What are Some Considerations when Installing a Gas Meter?
The cost of installing a gas meter is dependent on its type and size, distance between the meter and the main gas line, and complexity of the installation. However, as gas utility companies usually install the meters, homeowners may not need to worry about this cost.
Why are Local Permits and Inspections Important?
Local permits and inspections are crucial for ensuring safety and compliance. They can cost between $100 to $300, while inspections generally range from $50 to $300, depending on the location.
Attaching the Street Elbow: A Guide
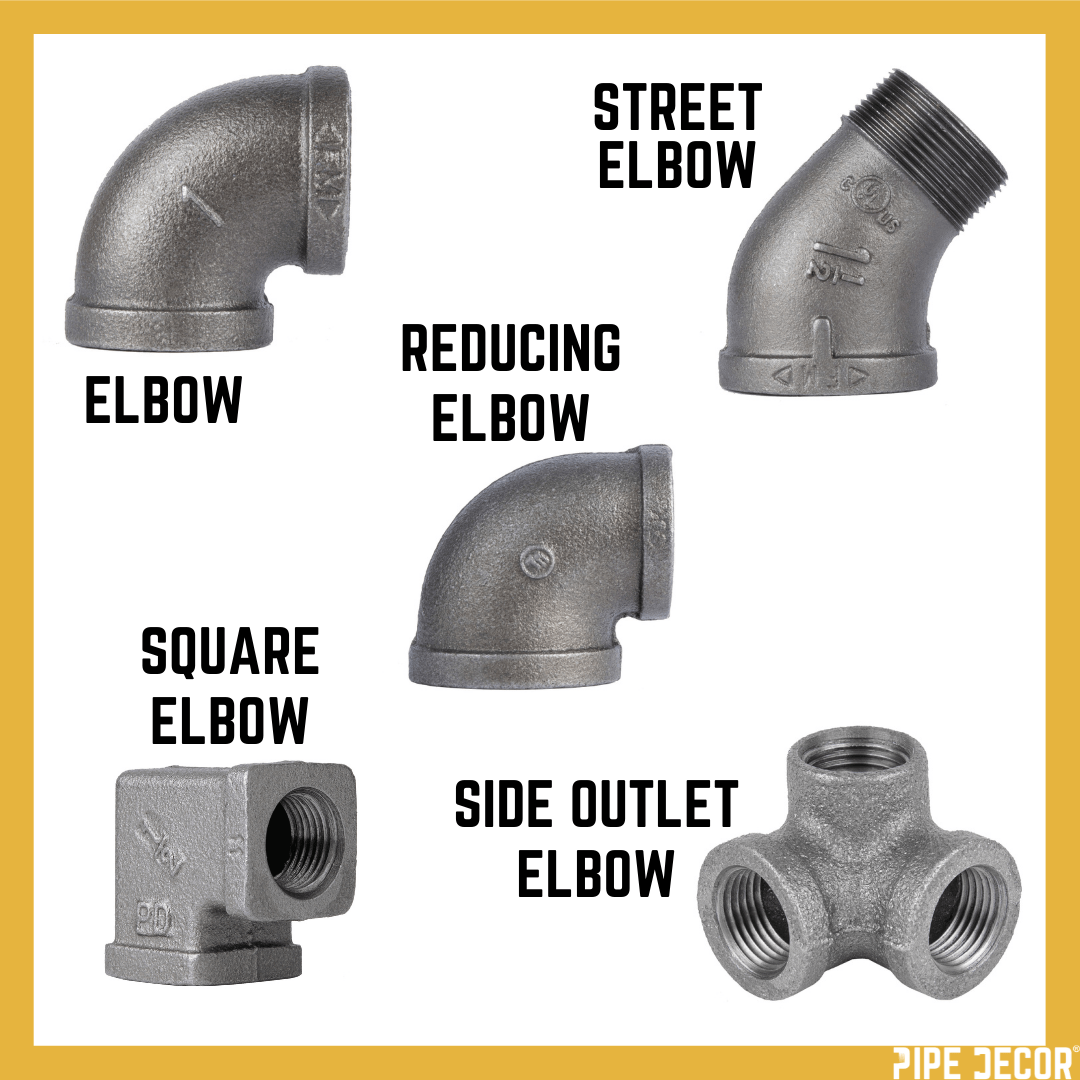
When installing gas appliances, the street elbow is a critical component requiring precise attention. It connects the gas pipe to your home appliance.
Proper installation will prevent potential gas leaks, ensuring home safety and efficient appliance operation.
As a plumber, my objective is to guarantee that every job is completed correctly, utilising cutting-edge tools for accurate diagnostics and equipment installation.
I strive to provide top-quality service with transparency, eliminating surprise or hidden charges for my clients.
Understanding how to attach the street elbow is crucial. Having appropriate tools beforehand will speed up this process tremendously.
The process might seem daunting, but rest assured, with detailed instructions and a bit of patience, you can successfully secure your gas appliances.
If you ever encounter an issue with your plumbing system at inconvenient hours, remember emergency plumbing services are available 24/7.
Maintaining your gas appliances and regularly checking on fittings such as the street elbow can save you from costly repairs and potential water damage.
Besides, if your water heater presents troubles such as erratic temperature changes or leaks, don’t hesitate to seek professional help immediately.
Being courteous and explaining each step of the process to homeowners is also part of my job. Clear communication fosters trust between me and my clients.
Tightening the Gas Connector Nuts
Working with gas appliances is a serious task, requiring specific skills and expertise. Before jumping into it, it’s crucial to understand that gas is highly dangerous if mishandled, and certain tasks may require a licensed professional.
However, as a plumber, there are certain tasks we’re allowed to perform, especially when dealing with water heaters or similar appliances. In such cases, it’s permissible for us to handle the gas connectors without needing the help of a licensed Heating and Cooling contractor.
Getting down to the specifics of gas line work, one of the key actions is sealing the threads. This procedure helps prevent gas leaks and ensures safe operation of your appliance.
- Choose your sealant wisely: Use a general purpose thread sealant. While many options are available, some plumbers may prefer using ‘the green stock’ due to its effectiveness despite being a bit messy.
- Apply the sealant thoroughly: Coat all your threads with your chosen sealant. Even if it looks a bit untidy at first, you can always wipe off the excess later.
- Using a coupling: When joining two pipe pieces together, make sure not to disturb the fitting further down the line. If you cause any movement there, you’ll need to disassemble and reseal that section too.
Once everything is properly connected and sealed, it’s time for the crucial step of testing for leaks. Be aware that using an open flame for this purpose is not advisable as it presents clear dangers.
The safest technique would be using a leak detector agent like ‘Black Swan’. Squirt this onto the joint: if there are any leaks, bubbles will form due to the pressure. Alternatively, a mixture of dish soap and water can also be used.
Remember, working with gas requires caution. If you’re unsure about anything, don’t hesitate to consult with a professional. Safety should always be your top priority when dealing with gas appliances.
Checking for Potential Gas Leaks

Ensuring your home is leak-free is a vital step in gas appliance installation. A professional technician can provide a comprehensive energy evaluation, including a blower door test.
This type of examination depressurises your home to locate potential leaks. It also identifies areas requiring additional insulation.
If you choose not to utilise this service, there are methods you can employ yourself. This involves a thorough visual inspection of both the interior and exterior of your home.
| Exterior Inspection Points | Interior Inspection Points |
|---|---|
| All exterior corners | Electrical outlets |
| Areas where siding and chimneys meet | Door and window frames |
| Outdoor water taps | Weather stripping around doors |
| Siding’s bottom meets the foundation | Vents and fans |
| Table: Key Points for Visual Inspection. | |
This checklist ensures no stone is left unturned when looking for potential gas leaks.
Another effective method is the Building Pressurisation Test. This involves turning off all combustion appliances and closing windows, exterior doors, and fireplace flues.
You then activate all exhaust fans or use a large window fan to pull air out of the rooms. Use an incense stick around common leak points; if the smoke wavers or moves unexpectedly, there’s likely a draft.
If locating drafts proves challenging, shining a flashlight on potential gaps during night-time may help. Large cracks will be visible as rays of light from outside.
Remember, safety is paramount when dealing with gas leaks. If in doubt, always consult with a professional.
Final Step: Sliding the Range into Place
The final step in your gas appliance installation process is sliding the range into place. This can be a bit tricky, so here’s a quick guide.
Positioning Your Range
Ensure that the location of the range is clear of obstacles. It’s also crucial to check that your gas connection is within reach.
Securing the Range
Once positioned correctly, you’ll need to secure your appliance. This involves attaching it to a wall or other stable structure using suitable brackets and tools.
Checking for Gas Leaks
Always double-check for potential gas leaks after installation. Employing a professional for this task is highly recommended.
The gas connection should be checked and tested to ensure it’s secure and not leaking. Gas leaks can pose serious health risks.
Completing the Installation
Your gas range should now be securely in place, and all connections checked for safety. Always follow instructions on your appliance manual to complete the installation process successfully.
No matter the complexity of your project, finding solutions tailored to your needs plays a key role. Steps like these assist homeowners with gas appliance installations.
Preparing for Gas Appliance Installation
Getting your gas appliances installed can be a tricky process. It’s important to ensure you’re well-prepared before technicians arrive.
Clear the Area: To make the installation process smoother, clear the area of any unnecessary items or furniture.
Know Your Appliances: Being aware of the specifications of your appliances will help in understanding the installation process better.
Check for leaks: Ensure the gas lines are leak-free. This is crucial for safety reasons.
- A thorough inspection: Before the installation, conduct a detailed check of your gas lines and connectors.
- Arrange necessary tools: Having all required tools on hand can make things easier and more efficient.
- Be aware of emergency procedures: Familiarise yourself with emergency shut-off processes and keep all relevant contact numbers handy.
- Contact utility company: Alerting your utility company about the upcoming installation is essential to ensure uninterrupted service.
In preparation, remember that safety is paramount. Work systematically to avoid any hitches during the installation process.
All set? The next phase is having professional plumbers come in and install your gas appliances correctly and safely.
Essential Safety Precautions for Installation
Preventing accidents during the installation of gas appliances begins with a comprehensive safety check. First, book in a home security audit to identify any potential risks and rectify them.
This audit should include a thorough inspection of your home’s entire premises, including all doors, windows, locks, and lighting. Ensuring these areas are secure can help prevent unnecessary accidents or break-ins.
“A professional audit will identify hazards that you may not notice.”
Another vital factor to consider is ensuring your gas appliances and electrical outlets are installed correctly and running efficiently. Faulty equipment can cause severe issues such as fires or water damage.
The importance of regular maintenance cannot be overstated. Keeping the coils and vents of your appliances clean prevents dust accumulation which could lead to fire hazards.
To protect against gas leaks or fire, smoke detectors and carbon monoxide detectors should also be installed on every level of your home. Testing these devices monthly is critical to their maintenance.
In case of an emergency, keep a list of contact numbers for essential services like the electric company, gas company, and water department accessible. Quick response can mitigate severe damage.
Safety doesn’t stop at installation. Regular appliance maintenance and cleaning reduces the risk of fires. It’s also essential to have a working fire extinguisher on hand.
Finally, training all household members on fire safety measures and having a well-planned escape route is crucial in managing emergencies when they occur.
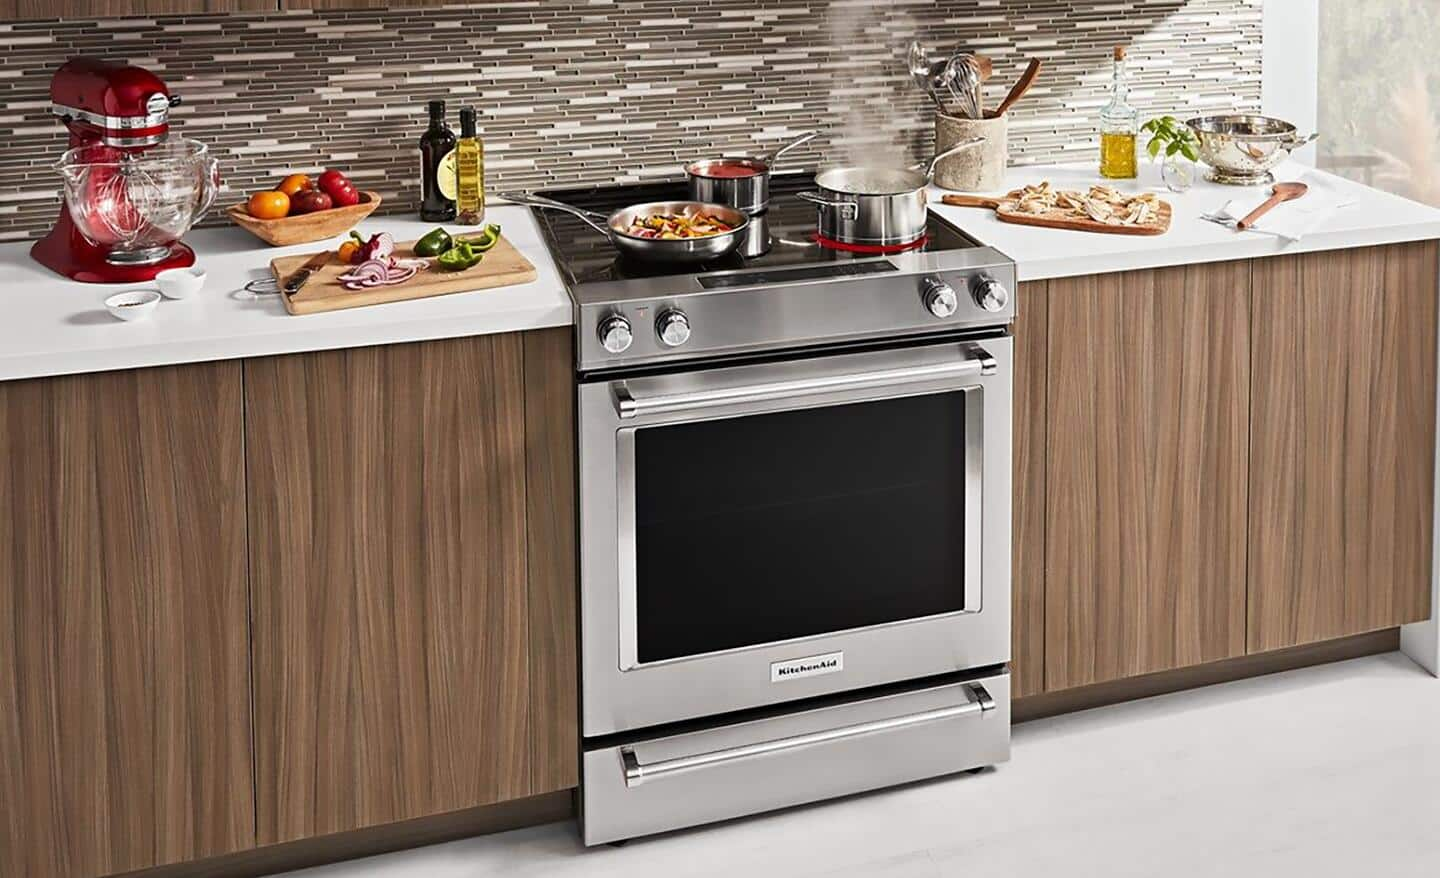
Converting an Electric Stove to Gas
Switching from an electric stove to gas can be a savvy move for homeowners. Beyond the attractive cost of natural gas, there are several reasons why a gas stove may be preferable.
A common reason is the potential energy savings, but others adore the control and versatility offered by cooking with gas. Additionally, many find making the change hassle-free, particularly if there’s already a gas appliance or a stubbed out gas line in your home.
- Identify Existing Gas Services: Before diving into a new stove purchase, establish whether you have existing gas services on or nearby your property. If unsure, get in touch with your local gas supplier.
- Consider Your Options: Sometimes, running a new gas line to your property may not be achievable or cost-effective. However, converting to propane might be a viable alternative since it is widely accessible.
- Safety First: You’ll need professional assistance from an electrician and licensed plumber. The former adjusts your electrical outlet while the latter ensures safe handling of gas lines to prevent leakage.
If natural gas isn’t available near you, don’t fret. Using propane instead could be just as practical. This process involves acquiring permission from local authorities then engaging a licensed plumber for tank placement and line installation.
Bear in mind that switching from electric to gas might raise upfront costs but it could generate savings in the long run. Namely through lower cooling costs and the potential for less dining out thanks to enhanced cooking capabilities.
Cooking enthusiasts often prefer gas stoves due to their superior temperature control and flame-based heat source. With this kind of precision at your fingertips, you can cook like a pro and perhaps broaden your culinary horizons, too.
Maintenance and Repair of Gas Appliances
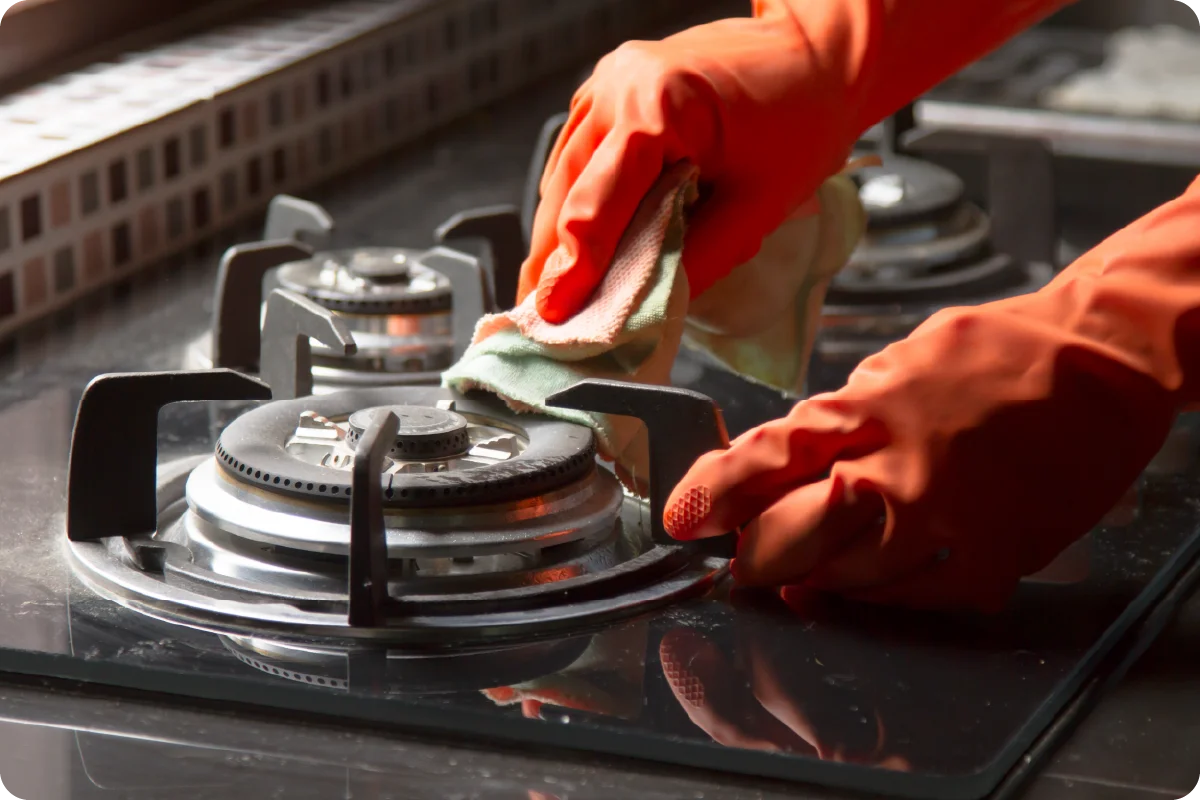
When your gas appliance is under warranty, reach out to the manufacturer or store instead of trying to fix issues yourself.
Warranties typically last a year, covering all parts and labour during that period. Some appliances may offer extended warranties.
For problems beyond warranty, examine the manufacturer’s website for any recalls or economical repair options for common problems.
Online forums can provide insights into similar issues faced by other users. If you’re unsure of the problem with your appliance, search with the model number.
| Repair | Cost | Type of Appliance |
|---|---|---|
| Gas Range | $191 (median) | Oven, Stove Top |
| Knob Replacement | $10-$20 | Oven, Stove Top |
| Grate Cleaning/Replacement | $50-$100 | Oven, Stove Top |
| Burner Cleaning | $50-$150 | Oven, Stove Top |
| Control-panel Replacement | $200-$400 | Oven, Stove Top |
| Average Costs 2021 – Source: Manufacturer Websites and Users’ Reports Online | ||
To find reliable gas appliance repair services, ask people you know for recommendations or use certified professional sourcing platforms.
More complex repairs like oven heating malfunctions or control-panel failures should be entrusted to a professional.
Consider the appliance’s age and repair cost before deciding to repair or replace it. Lower costs and extended warranties may favour keeping your current appliance.
Safety Ensured
Fergusons Plumbing delivers secure installations of gas appliances, ensuring safety and efficiency in Aussie homes. Their experts follow rigorous procedures, adhering to national standards and guidelines. With a professional approach, they minimise risks linked to gas appliances, providing homeowners with peace of mind. Trust Fergusons for your gas appliance’s safe installation and reliable functionality.

- Drip-Free Tap Repairs with Fergusons Plumbing Group - March 4, 2025
- Keep Your Home Safe with Our Specialist Gas Leak Detection Services - March 4, 2025
- Upgrade Your Taps with Our Stylish and Functional Tap Replacement Service - February 4, 2025
Related posts:
 Safe Gas Line Installations by Fergusons Plumbing Group
 Efficient and Safe. Gas Regulator Replacements
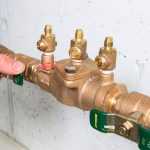 Safe and Sound: Backflow Prevention Device Installations
 Winter Warmth: Gas Appliance Installations in Sydney!
 Bathroom Makeover? Fergusons Can Help with Toilet Installations
 Restore Flow Fast with Fergusons Plumbing’s Emergency Sewer Line Repairs