Getting a new washing machine is an exciting addition to any household, but setting it up isn’t always straightforward.
That’s where professional washing machine installations come in handy and can save a lot of hassle and unnecessary stress.
These are some key elements to consider when looking into professional washing machine installations:
- Choosing the Ideal Spot: This step involves selecting a suitable and convenient location for your washer.
- Drain Hose Connection: A professional will guide on connecting the drain hose properly, preventing leaks and damages.
- Water Inlet Hoses: Knowing how to correctly connect these hoses can be vital in avoiding water waste.
- Washer Leveling: Ensuring your machine is level is critical for operation and reducing wear and tear.
- Maintenance Post-Installation: Once installed, regular upkeep is essential to keep your machine functioning optimally.
- Plumbing Requirements: Understanding the plumbing requirements for your specific model is important for a smooth installation.
The process might seem daunting, but with our professional guidance, you’ll have your washing machine up and running in no time.
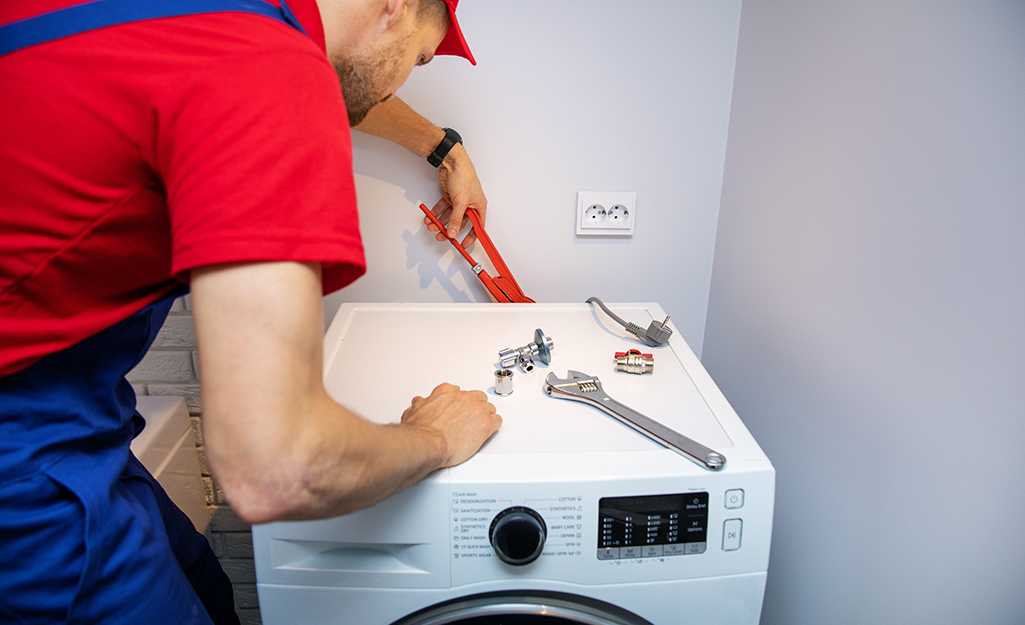
The Benefits of Professional Washing Machine Installations
Hiring a professional for washing machine installations not only saves time but assures that every aspect is handled with expertise.
A professional knows the correct procedures to avoid leaks, short circuits, or uneven machines.
If you’re considering new washing machine installations, make sure to rely on trusted professionals at Ferguson’s Plumbing.
Contents
- Washing Machine Installation: Key Steps
- Choosing the Right Spot for Your Washer
- Connecting the Drain Hose: A Detailed Guide
- How To Properly Connect Water Inlet Hoses
- Leveling Your Washer: Importance and Method
- Tips on DIY Washing Machine Installation
- Maintaining Your Washing Machine Post-Installation
- Washing Machine Plumbing Requirements
- Easy Laundry Solution
Washing Machine Installation: Key Steps
The initial step is to ensure all safety regulations are followed during the replacement process. Disconnect the drain hose and power cord from your old machine.
After removing the machine, turn off your water supply to avoid any potential hazards. Then, place your new washing machine near the intended location.
You need to carry out accurate measurements at all connecting points. This includes checking the distance between the floor and water supply, and locating your new machine’s drain hose connection.
| Task | Action | Notes |
|---|---|---|
| Safety Precautions | Unplug old machine, turn-off water | Ensure proper ventilation |
| Measurements | Floor to water supply, locate drain connection | Precise measures are required for a smooth installation |
| Preparation for Installation | Place new machine on dolly, remove shipping bolts and packaging | All materials should be disposed of responsibly |
| Water Supply Connection | Connect hoses to machine and valves, turn-on water | Check for leaks after turning on the water |
| Electrical Connection | Connect power cord to machine and outlet | Check the functionality after plugging-in machine |
| Final Check: Secure all connections, look for any leaks or issues, test machine for proper function. | ||
This table summarises the main stages of washing machine installation. A cautious approach ensures a successful setup.
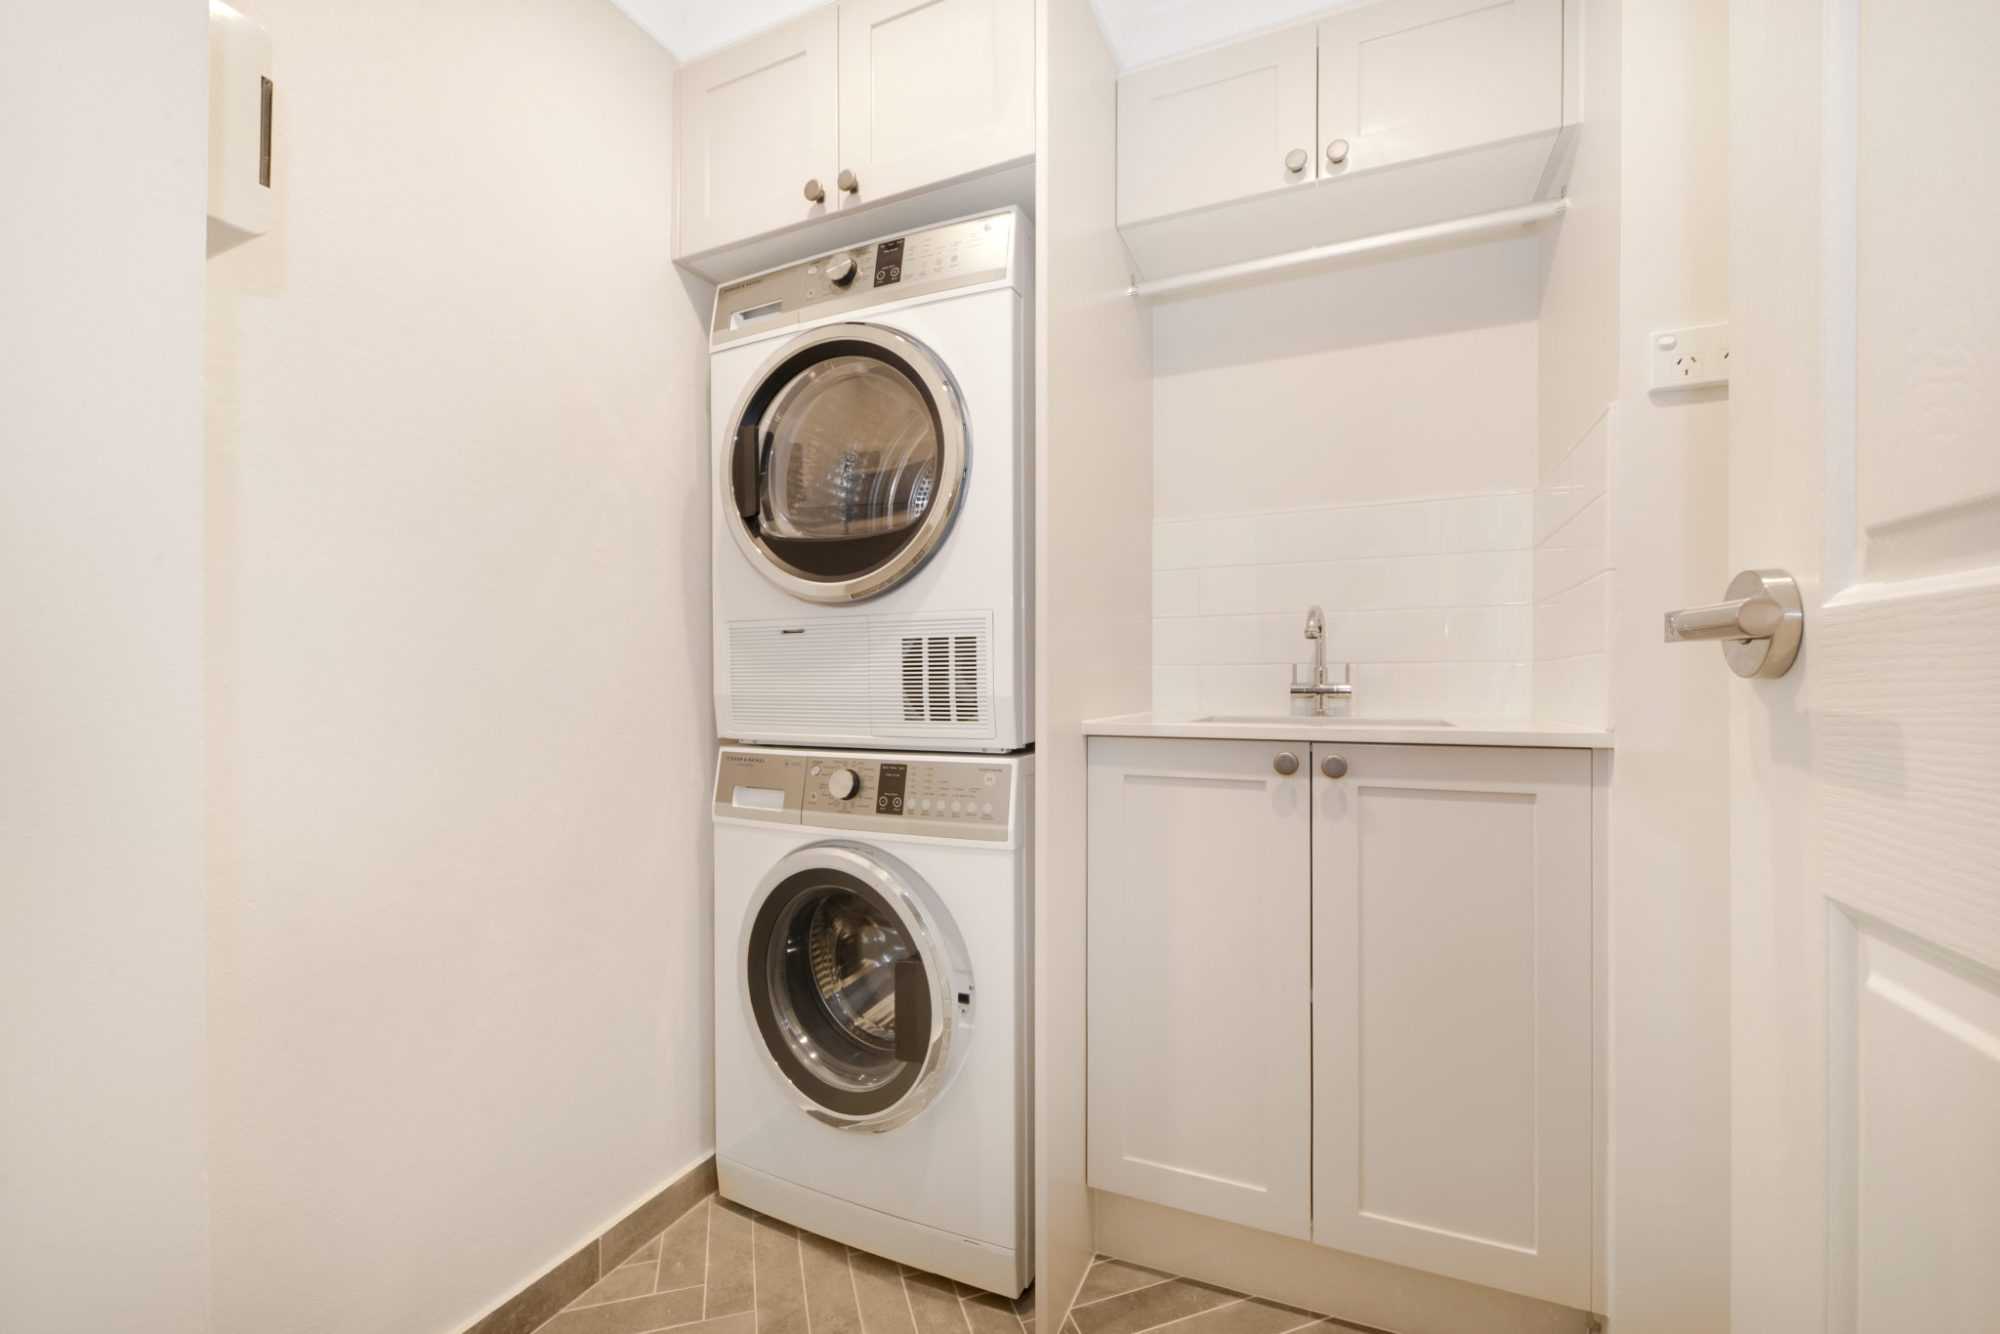
Choosing the Right Spot for Your Washer
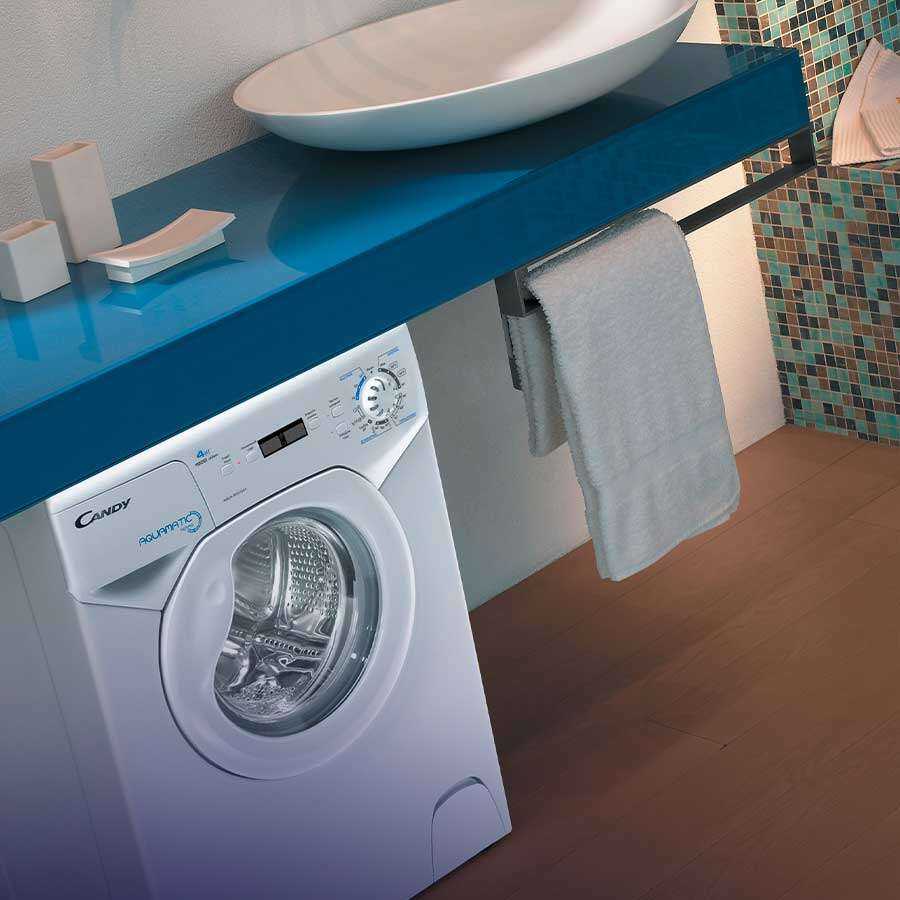
Positioning your washing machine is not a random task. Optimal location ensures efficiency and longevity of your appliance.
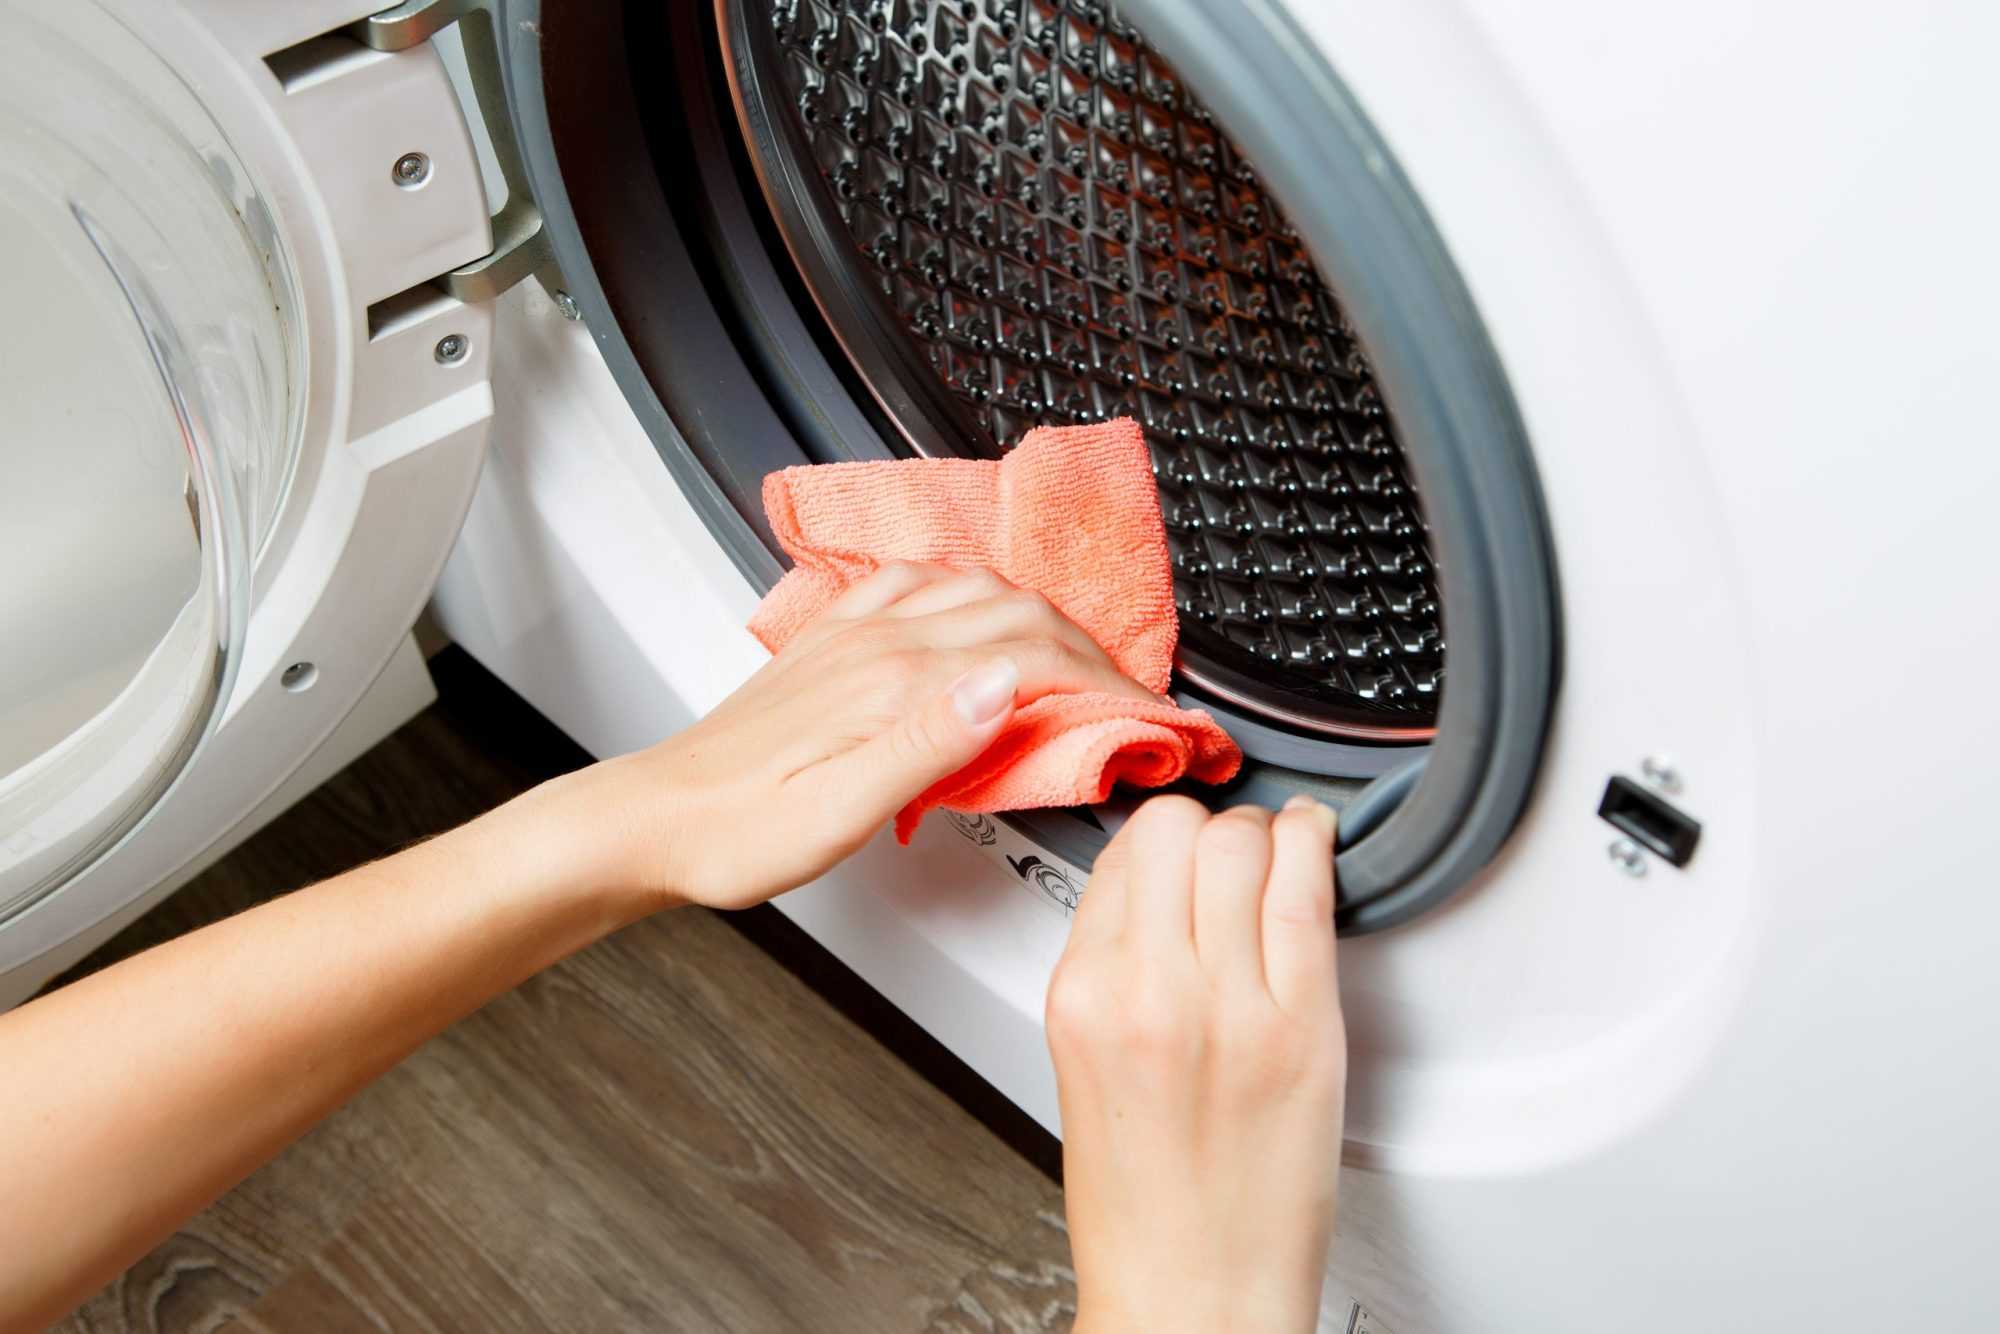
Consider access to warm water and suitable drainage to ensure effective operation. Regular cleaning can also help maintain performance.
“Essential washer maintenance involves running an empty cycle with warm water and a dishwasher tablet every three months.”
Furthermore, use a microfiber cloth dipped in white vinegar to wipe any exposed surfaces weekly. This is a simple routine that helps keep the machine clean.
Another habit to foster is running a ‘service wash’—a hot wash with no clothes or detergent—every month. This routine acts as a deep cleanse for your washer.
Cleaning the detergent drawer regularly is also crucial. Over time, detergent residue can build up and affect the efficacy of your washes.
To prevent bacterial growth, it’s advisable to empty the machine immediately after each cycle completes.
Residual dampness can lead to bacterial and mould growth. Thus, always leave the door ajar between uses for airflow.
Care should also be taken not to overdose on detergent; this could lead to residual suds and promote mould growth. A handful of powder or liquid is usually sufficient for most loads.
Connecting the Drain Hose: A Detailed Guide
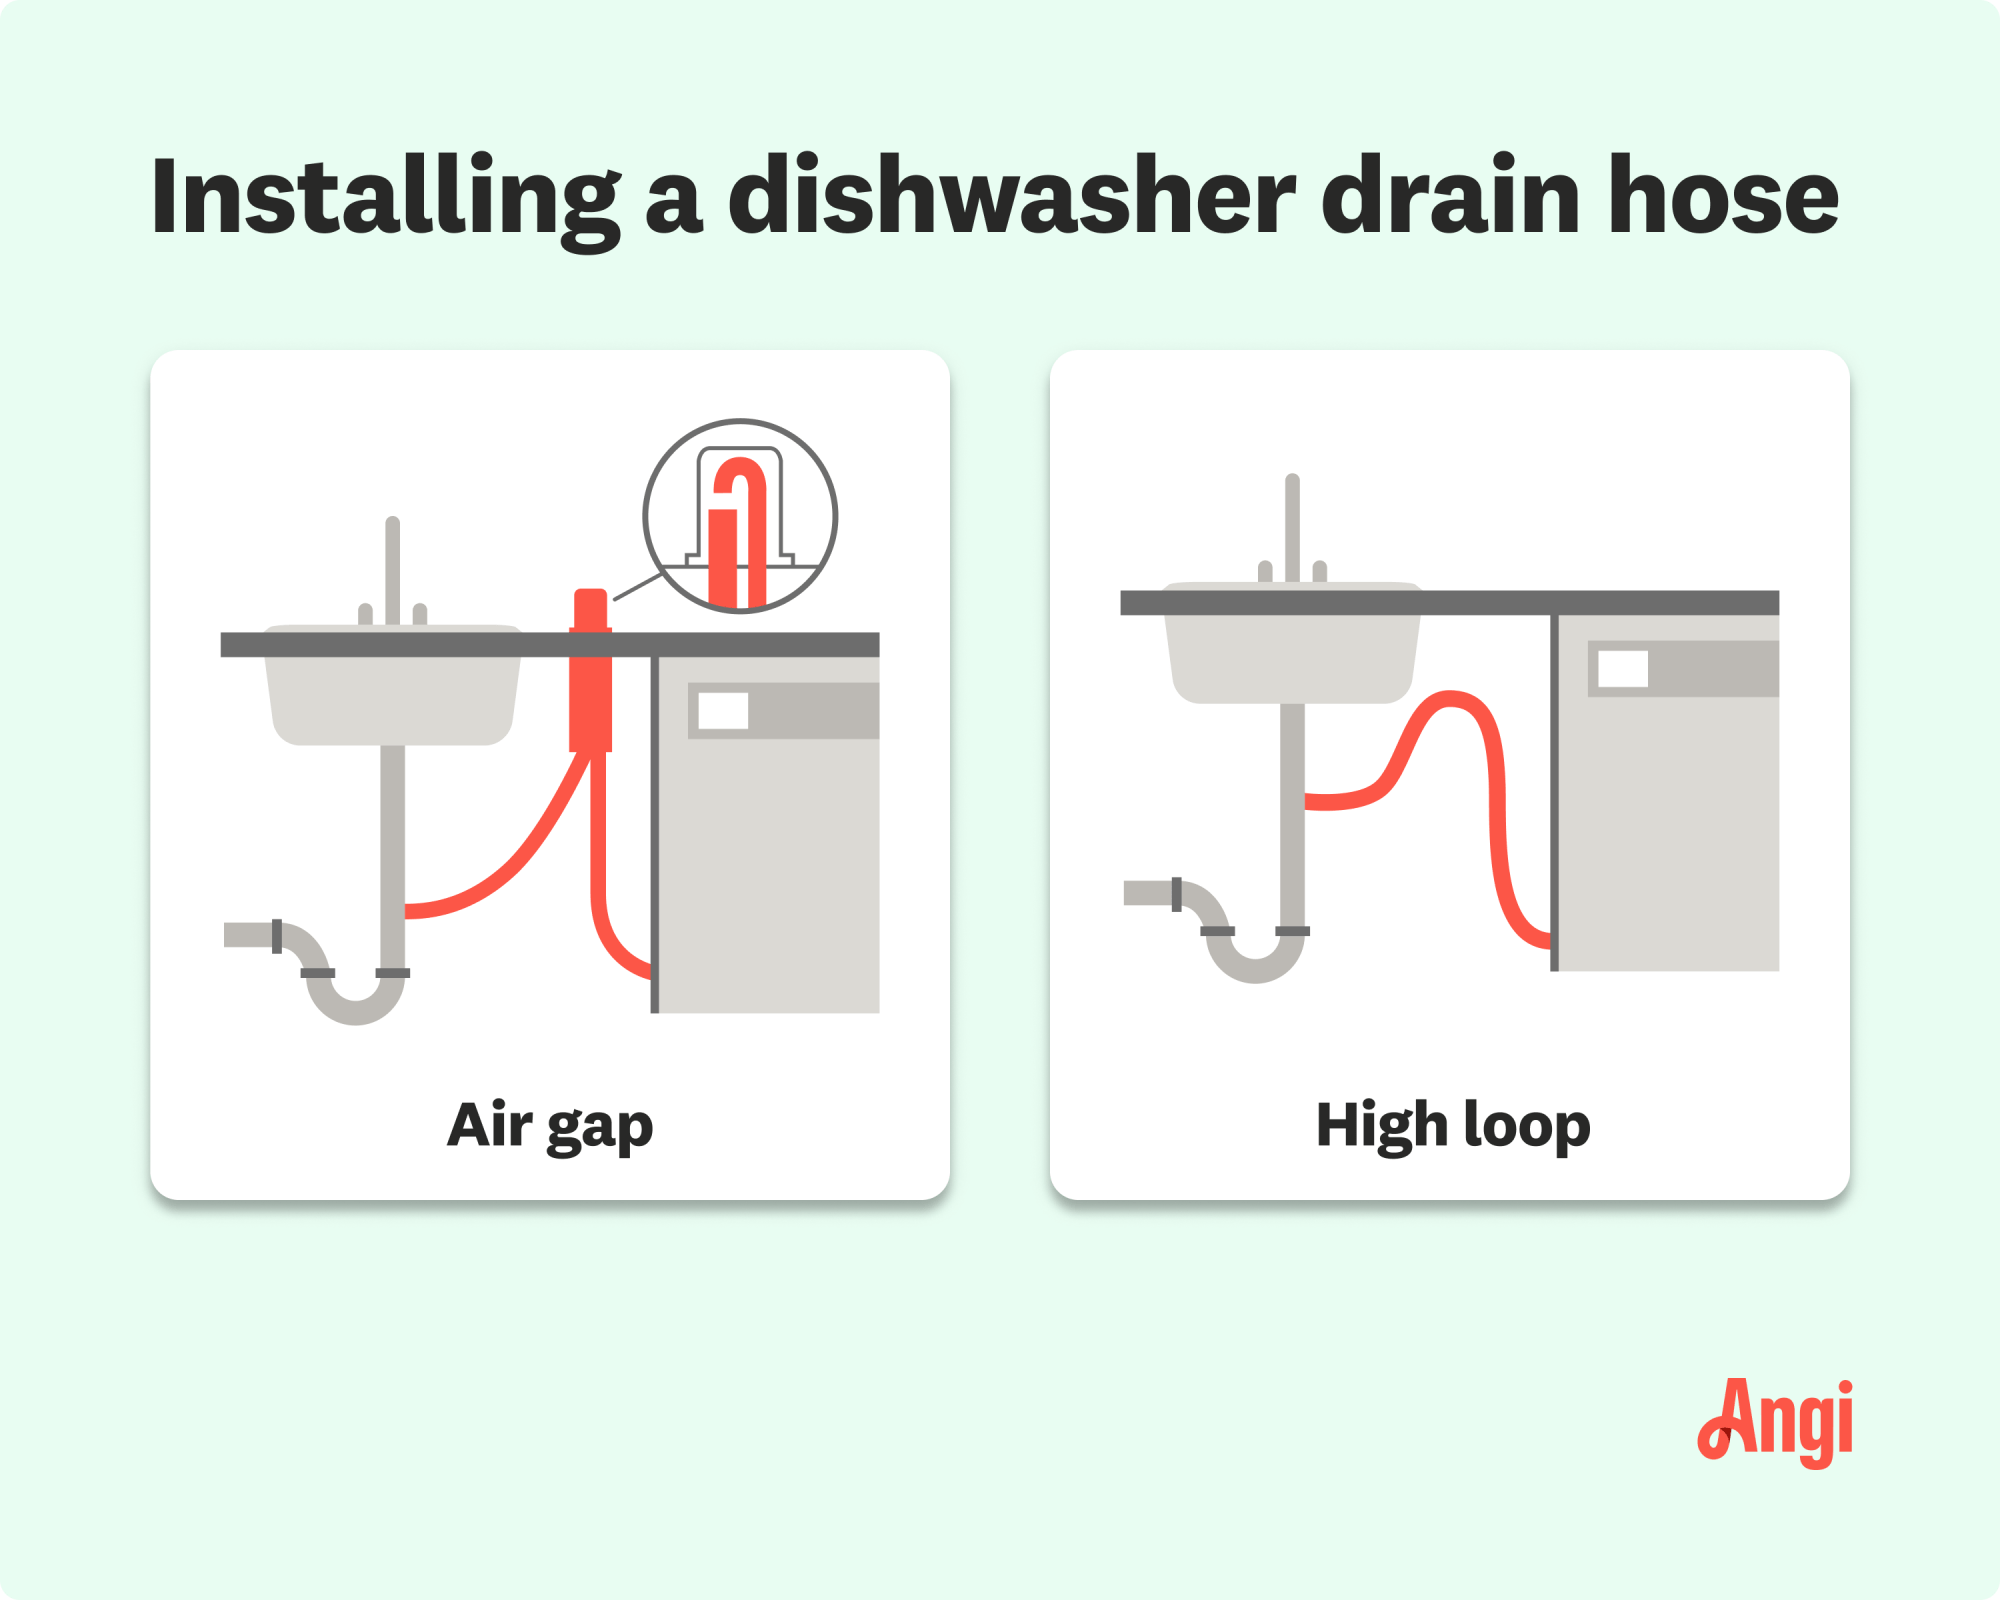
When it comes to drain kits for your washing machine, you have two options: chromed metal kits or PVC drain kits. The choice between these will largely depend on whether the drain line will be visible or not.
If the piping will be in sight, you may prefer the aesthetic appeal of a chromed kit. However, if it’s located in a concealed area, such as a sink base cabinet, a PVC kit would suffice and is usually more economical.
Nut and washer screw-together connections are common in both chromed or PVC kits. Their ease of assembly means you can disconnect them quickly when needed, for instance, to unclog a drain or retrieve items that have accidentally fallen down the drain.
| Drain Kit Components | Description |
|---|---|
| Tailpiece | Connects to the sink strainer’s bottom |
| Trap bend (or P-trap) | Forms a water-filled block preventing sewer gas from rising through the drain |
| Trap arm | Connected to P-trap’s downstream end and then to main drainage line’s drainpipe |
| Crosspiece (Optional) | Longer section of drainpipe required if there is a garbage disposer installed under your sink |
| Note: Always check your sink setup before commencing installation to ensure all pieces will connect correctly. | |
Bear in mind that the horizontal alignment doesn’t need to be perfect – all sections must simply be connected consistently.
Commence by fixing the tailpiece to the sink drain and manually tightening the slip nut and washer. It’s easier if all drain tailpieces are of equal length, especially in sinks with multiple bowls.
Next, fit the trap onto the tailpiece, ensuring that the horizontal piece runs alongside the drain line coming from the wall. This section must fit inside the drain line’s end. Depending on your sink setup, you might need to cut the horizontal piece to ensure a proper fit.
After securing all parts, test for leaks by having someone turn on the water while you perform inspections. If a leak is detected, disassemble and reassemble the relevant connection before re-checking.
How To Properly Connect Water Inlet Hoses
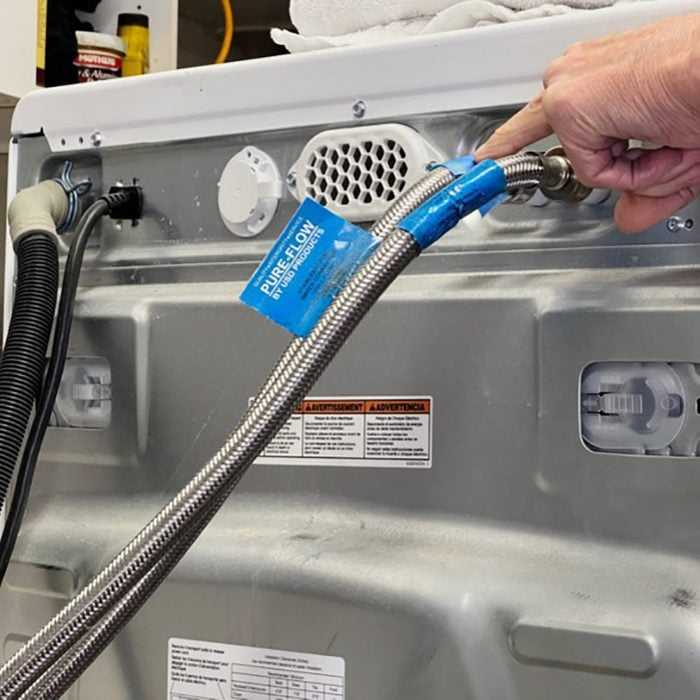
Before starting, ensure that you have a high-quality hose such as the Certified Appliance Accessories Hose. It’s reliable, easy to install, and has a burst-proof construction.
The hose comes in various lengths, from 4 to 8 feet. Its polyester-reinforced PVC core provides durability, hence ensuring long-term use.
Selecting the Right Hose
It’s also essential to pick the right material. The Hippohose PVC-Coated Steel Washing Machine Hoses are another great option. They are lead-free and burst-proof up to 1,500 psi, offering added safety.
These hoses feature an additional PVC protective layer and are UPC-certified, making them reliable for frequent usage.
Ensuring a Secure Connection
Making the correct connections is crucial too. The K&J Hot and Cold Water Steel Washing Machine Hoses are marked red for hot and blue for cold connections for your ease.
They’re equipped with leak-free rubber washers ensuring secure connections, accommodating ¾-inch NPT, common to all washing machines.
Your User-Friendly Option
The K&J hoses leverage pliable rubber washers for added user-friendliness. Choose wisely and consider the quality of construction before purchasing any hose product.
Leveling Your Washer: Importance and Method
Why is Leveling Your Washing Machine Essential?
Having a levelled washing machine is critical to its proper functioning.
A machine not correctly balanced can result in excessive vibrations,
which might lead to premature wear and tear of parts,
damaging your appliance over time, or even cause structural harm to your property.
What are the Signs Your Washer is Unlevel?
Common signs of an unbalanced washer include abnormal noises,
like thumping or knocking during the spin cycle.
The machine might also move or ‘walk’ across the floor during operation.
How Can You Level Your Washing Machine?
To level your washer, you’ll need a level tool.
Place it on top of your machine to see if it’s already balanced.
If not, adjust the machines feet until perfectly level in all directions,
and tighten the locking nuts to keep it in place.
What If You Can’t Level Your Machine?
If despite your adjustments, your washer remains unbalanced,
a professional plumber can help with further troubleshooting or recommend a solution.
Tips on DIY Washing Machine Installation
Installing your washing machine is a simple task with proper guidance. Here’s a step-by-step guide to help you through the process.
Before starting, gather all the necessary tools. Use an adjustable spanner and invest in a Winbag Air Jack for lifting appliances.
- Check the space: Ensure you have enough room for installing and accessing your washer conveniently.
- Turn off the main water supply: This should be done before you start working on the pipes to prevent water overflow.
- Prepare your new washing machine: Following the manufacturer’s instruction guide carefully for this step is crucial.
- Connect water supply hoses: Proper connection is vital to ensure smooth water flow to your washer.
Next, set up the drain hose properly. Misalignment might lead to water leakage and subsequent damage.
The final step involves levelling your washing machine. An unlevelled washer can cause unwanted vibrations during its operation.
In addition, it’s important to double-check everything once the installation is complete. Make sure all connections are secure and there are no leaks.
Last but not least, never forget to follow any specific instructions provided by the manufacturer. These instructions are specially designed for your model and ignoring them could lead to performance issues or even damage.</p
Maintaining Your Washing Machine Post-Installation
The upkeep of your washing machine is key to its longevity. Regular maintenance will ensure optimal performance, conserving water and energy.
Understanding how the fixture unit values (WSFU) apply to your appliances aids in efficient maintenance. Your washing machine has a 3 WSFU, similar to a bathtub or a water heater.
This indicates the demand placed on your home’s water system. Different appliances use varying amounts of water, hence each has a specific WSFU.
For instance, bathroom sinks and kitchen sinks have 1.5 WSFU while toilets have 2.5 WSFU. Know these figures for effective home plumbing management.
Pipe sizing also plays a significant role in your home’s water service system. Pipes come in various sizes, and each size caters to certain WSFUs.
A 3/4″ pipe serves between 1-6 WSFU, while a 1/2″ pipe caters for between 1-2 WSFU. Match these numbers to manage your home’s water usage optimally.
When it comes to distribution pipes, they carry higher WSFUs: a 3/4″ pipe can carry anywhere between 1-20 WSFU.
The same rule applies to larger pipes – for example, a 1-1/2″ pipe can serve between 1 – 21 WSFU for water service pipes and up to 36 WSFU for distribution pipes.
Recognising these values empowers you to effectively maintain your appliance post-installation, ensuring its smooth operation for years.
Finally,
Your washing machine’s efficient operation links directly with understanding these values and judicious use of water in your household.
Washing Machine Plumbing Requirements
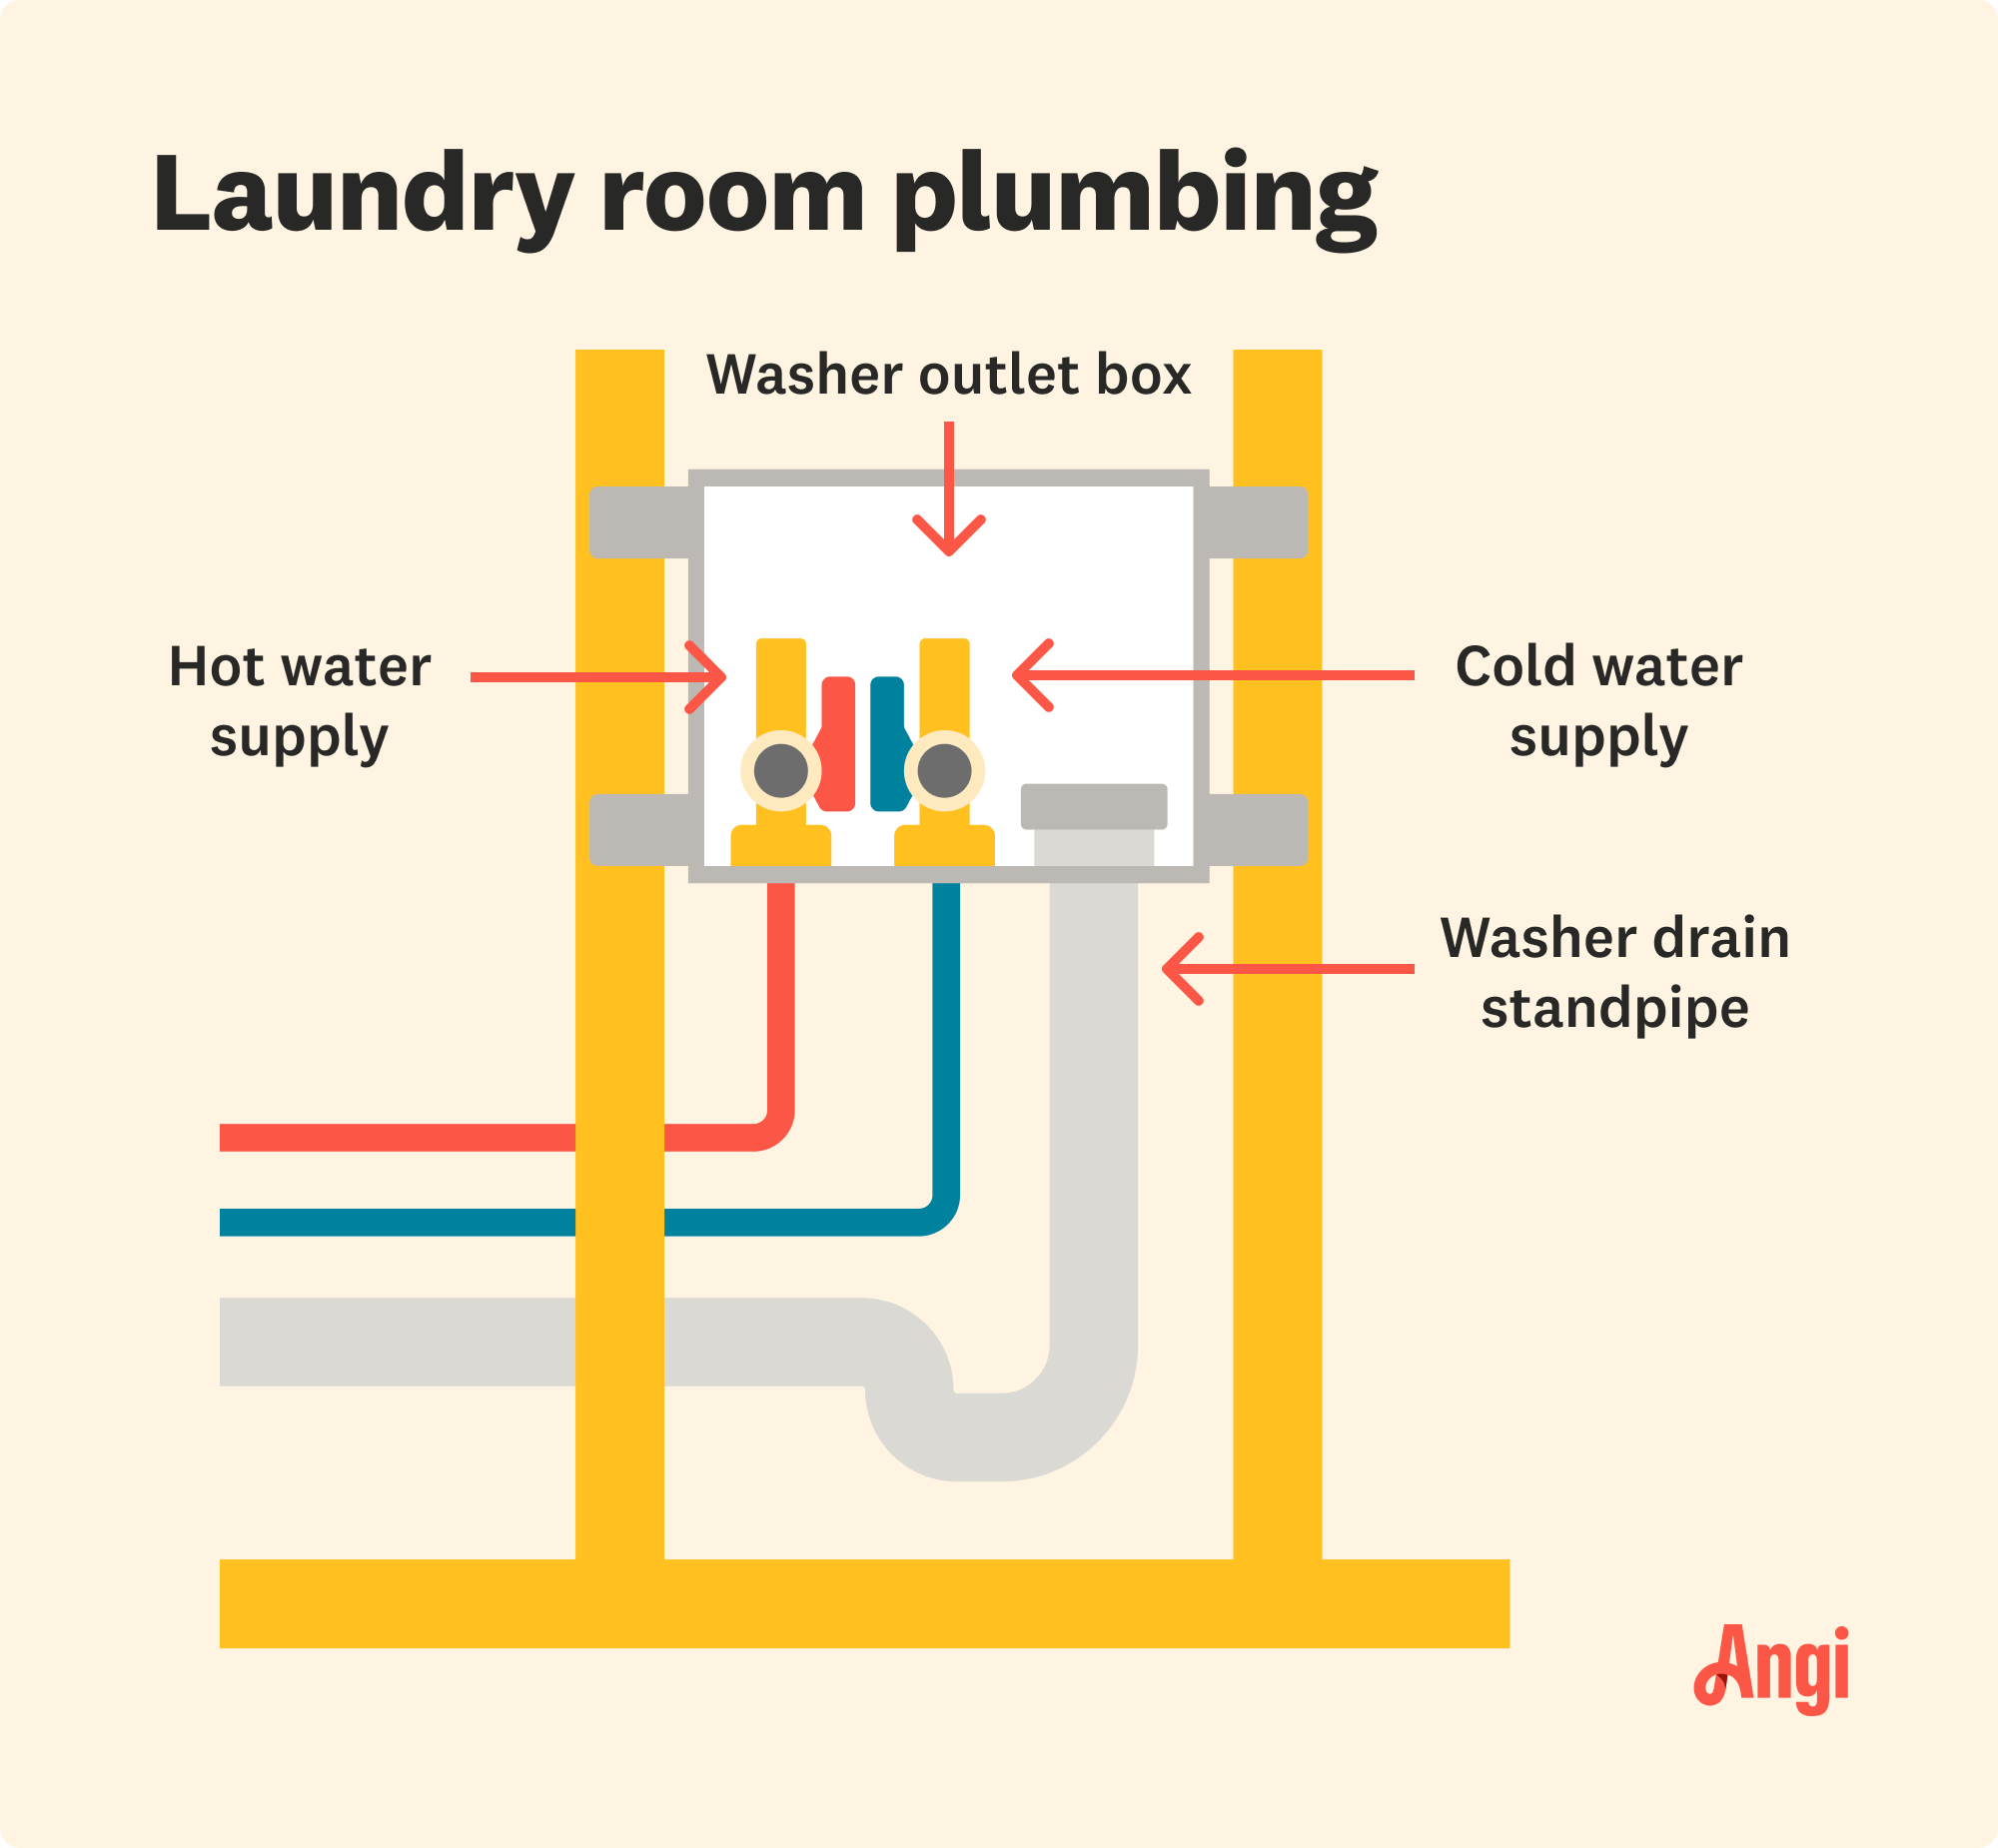
Connecting water lines to your washing machine can be simplified by using hose bibbs screwed into drop-ear elbows. These are compatible with PEX, CPVC, or copper pipes.
The washer box, typically placed between studs, should be fitted with quality valves and lever handles. Ideally, these should include a single easy-turn lever and antishock valves for optimal functionality.
Drainage and Standpipe Specifications
Your washing machine’s drainage setup is crucial. This often consists of a 2-in. drainpipe feeding into a 36 in. standpipe that then leads to a 2-in. horizontal P-trap.
Critical code requirements state the need for a horizontal run after the trap of at least twice the pipe diameter to prevent S-traps. This equates to 4 inches for a 2-inch drain.
The standpipe height must range between 18 in. and 42 in. above the trap weir. It’s important to ensure that the washing machine’s discharge must pass through an air break before connecting directly to the sanitary drainage.
Other Essential Plumbing Requirements
Supply lines for hot and cold water are usually half an inch in diameter and constructed from copper, PEX, or PVC materials. They’re typically positioned behind and slightly above the washing machine for accessibility.
In domestic residences, floor drains aren’t compulsory but can be beneficial in case of overflows. If installed, their diameters must be at least two inches.
Dryer vents made from smooth materials can help prevent lint buildup and potential fire hazards. These vents need to have a diameter of four inches to function effectively.
Easy Laundry Solution
Installing a washing machine in Sydney has never been simpler. With expert plumbing services available at your fingertips, your laundry chores can be made light. Whether it’s a new install or a replacement, professional plumbers ensure safe and efficient setup. As homeowners, it’s time we savoured the luxury of an easy laundry solution.

- Drip-Free Tap Repairs with Fergusons Plumbing Group - March 4, 2025
- Keep Your Home Safe with Our Specialist Gas Leak Detection Services - March 4, 2025
- Upgrade Your Taps with Our Stylish and Functional Tap Replacement Service - February 4, 2025
Related posts:
 Winter Warmth: Gas Appliance Installations in Sydney!
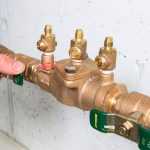 Safe and Sound: Backflow Prevention Device Installations
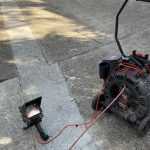 Reveal Hidden Sydney Drain Issues with Our CCTV Inspection Service
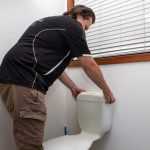 Sydney Toilet Troubles? Get a Rapid Fix with Our Emergency Repairs
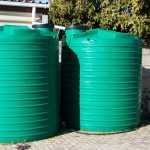 Go Green with Our Sustainable Rainwater Tank Installations