Getting the right gas stove in your kitchen is a game-changer.
Whether it’s for gourmet cooking or simply for the convenience of fast heating, you’ll need a professional for gas stove installations.
Below is a rundown of the key aspects to consider when planning for gas stove installations:
- Choosing the correct Gas Stove: Picking a gas stove that meets your culinary needs and kitchen space.
- Tool and Material Gathering: Ensuring that all necessary tools and materials are ready for installation.
- Gas Line Installation: The step-by-step process involved in setting up the gas lines.
- Venting the Gas Stove: Guidelines and tips on how to vent your gas stove correctly.
- Gas Stove Securing: Steps for installing and securing your gas stove in place.
- Leak Testing: Checking for gas leaks after installation to ensure safety.
- Maintenance Tips: Keeping your gas stove in optimal working condition over time.
- Safety Precautions: Essential safety tips and precautions during gas stove installation.
Navigating through the process can be daunting but it’s critical to ensure a secure installation.
All About Gas Stove Installations
Acknowledging these points will enhance your understanding of what gas stove installations entail.
Moreover, it will help you appreciate the vital role that experts play in this process.
Remember, every step from choosing the right stove to testing for leaks contributes to long-term safety and performance.
So, if you’re considering a gas stove, bear these points in mind for a hassle-free installation experience.
Contents
- Choosing the Right Gas Stove for Gourmet Cooking
- Gathering Necessary Tools and Materials for Installation
- Installing the Gas Lines: Step-by-Step
- Venting the Gas Stove: Guidelines and Tips
- Installing and Securing the Gas Stove in Place
- Testing for Gas Leaks After Installation
- Maintaining Your Gas Stove for Optimal Performance
- Gas Stove Installation: Safety Tips and Precautions
- Stellar Stove Installs
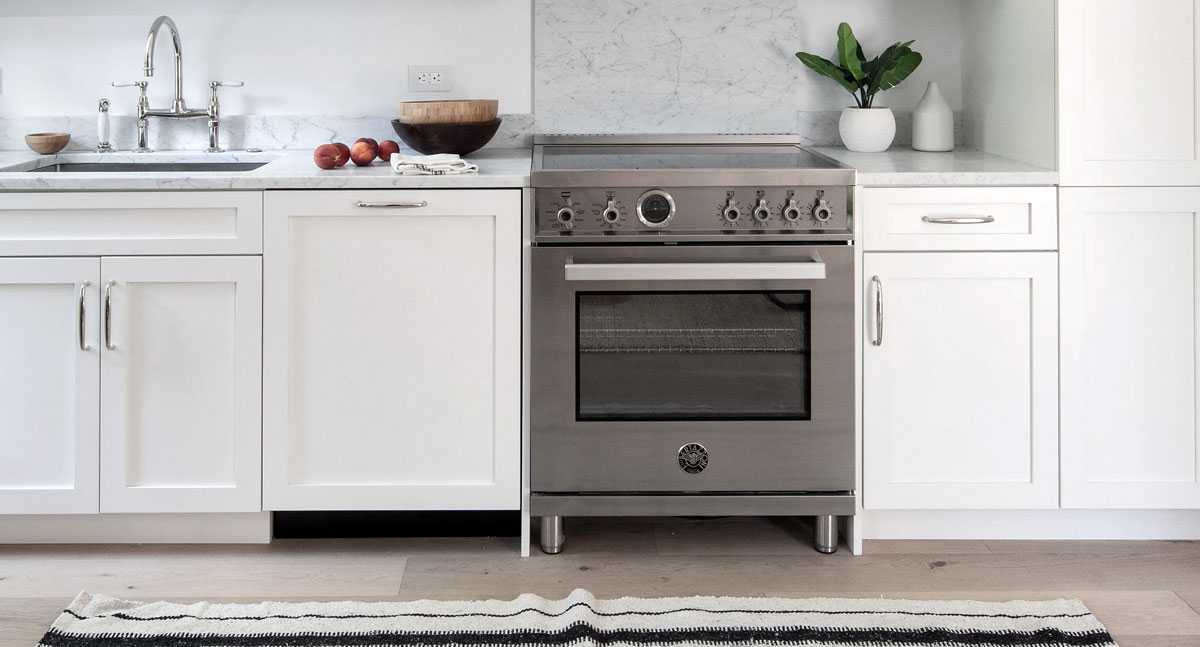
Choosing the Right Gas Stove for Gourmet Cooking
Deciding on the perfect gas stove for your home can significantly enhance your gourmet cooking experience. Let’s delve into what factors to consider.
Selecting a gas stove isn’t solely about aesthetics; it’s also about performance and functionality. Here is a list of aspects to keep in mind:
- Type of Fuel: Check whether your home has a natural gas or liquid propane connection.
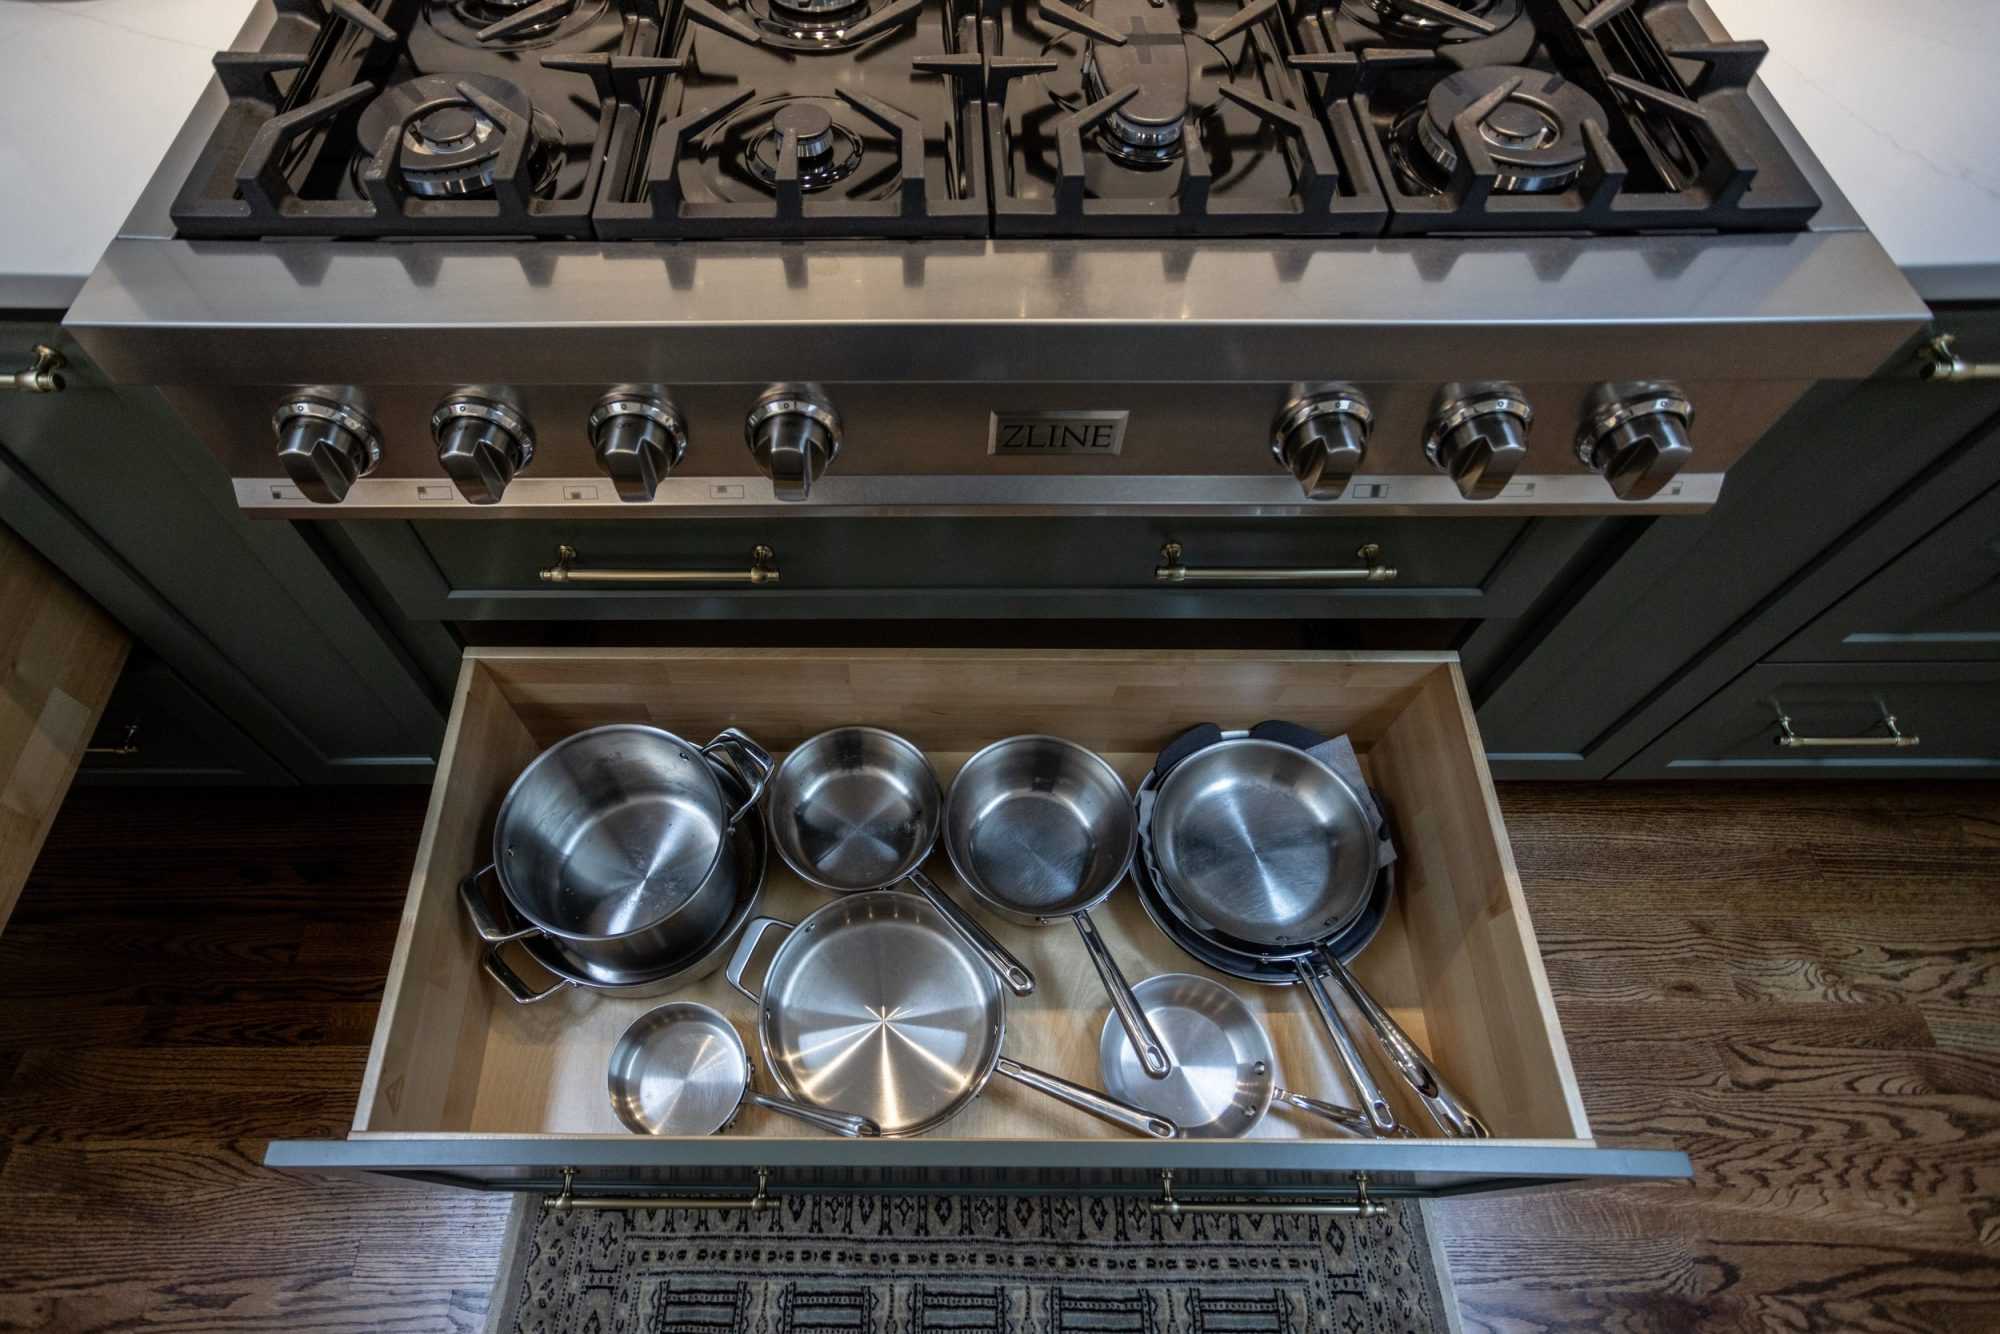
- Size and Capacity: Assess your kitchen space and cooking needs before determining the size of your gas stove.
- Number of Burners: The number of burners can vary. Choose according to your cooking style and frequency.
- Safety Features: Safety is paramount, look for features like flame failure devices and child safety locks.
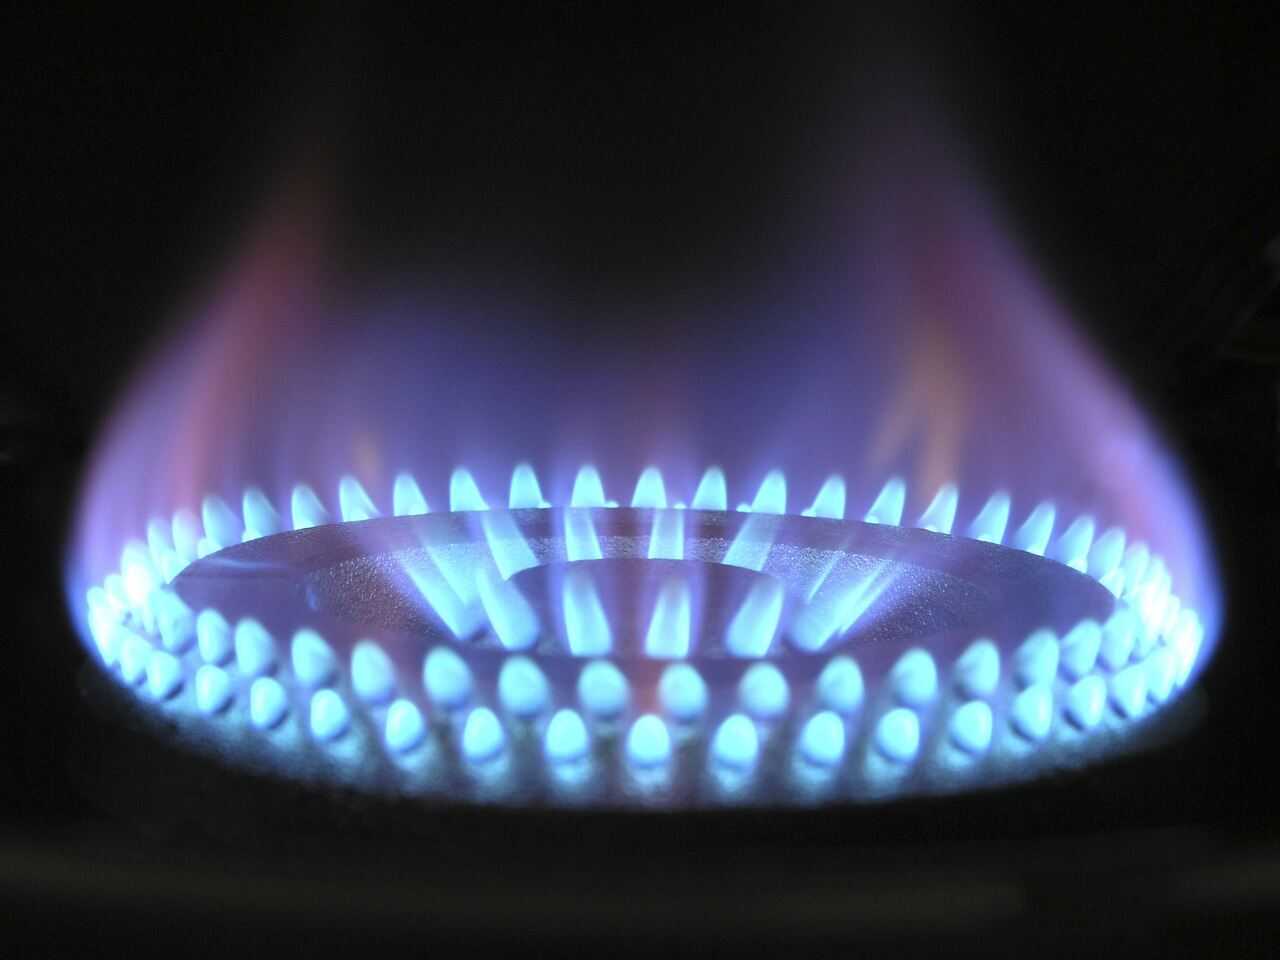
Gas stoves often offer precise temperature control, making them a preferred choice for many professional chefs and food lovers alike.
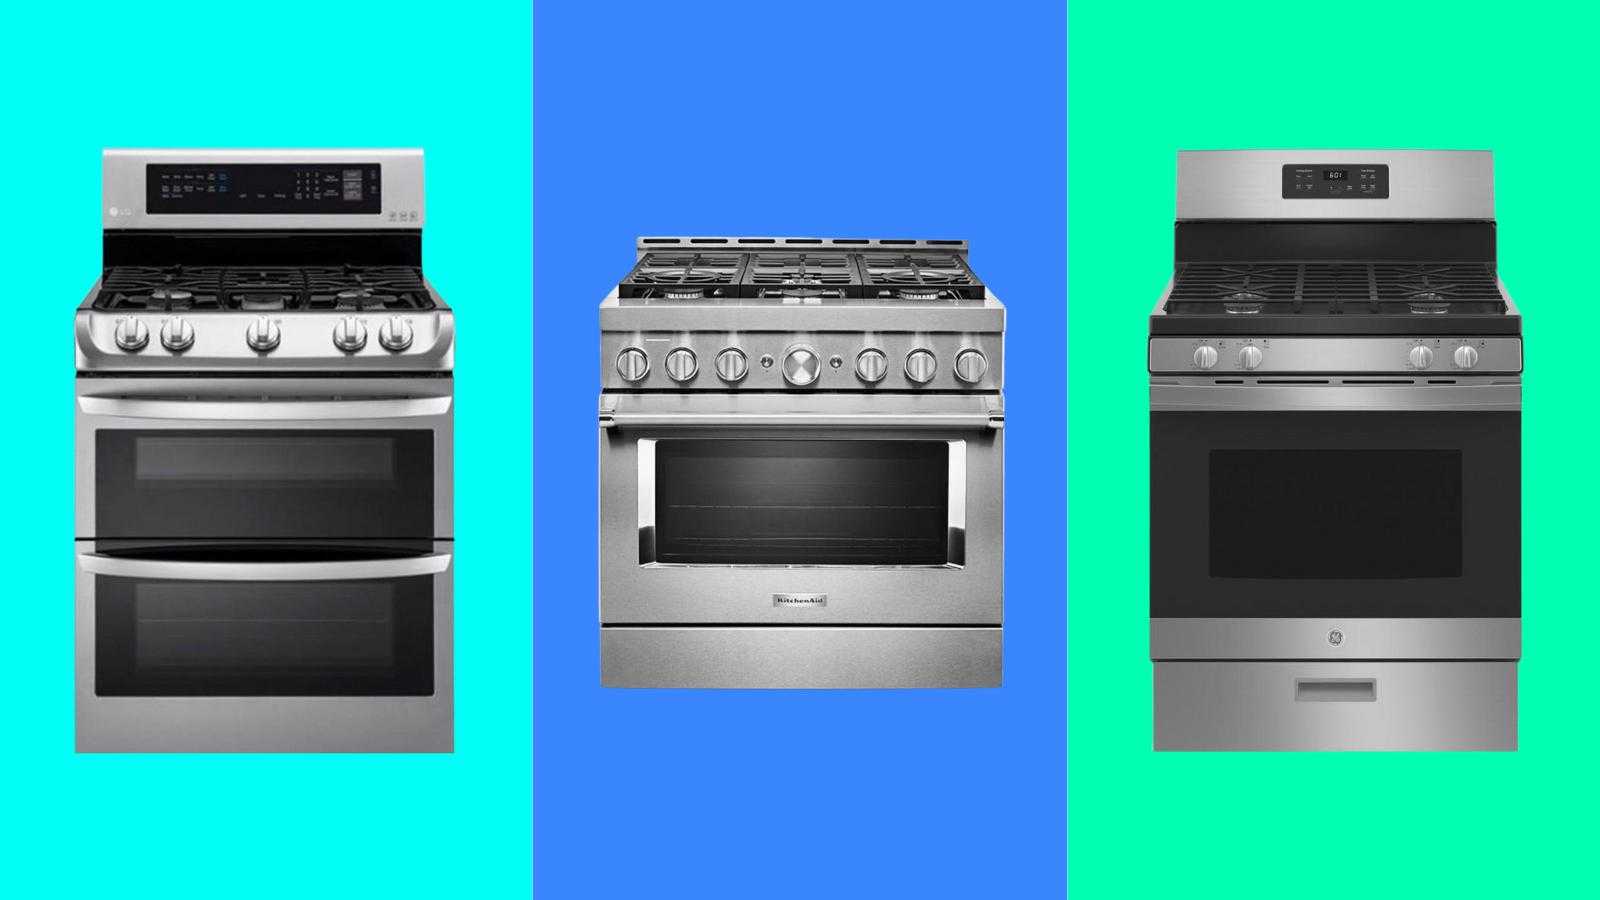
To ensure you’re making an informed decision, conducting some research on various brands and models could be beneficial. User reviews and product comparison websites could be starting points.
A well-chosen gas stove will not only boost your cooking efficiency but also add a sleek touch to your kitchen decor. So, take the time to make the right choice.
Gathering Necessary Tools and Materials for Installation
Before commencing your gas stove installation, it’s imperative to gather all necessary tools and materials. With the right resources, you can ensure a smooth and efficient process.
Start by preparing a screwdriver, these are essential for securing screws during the installation. Additionally, have a pair of hand pruners on hand. Although typically used for gardening, they can trim any interfering cabinet parts.
- Screwdriver: Practical for fastening screws and adjusting components.
- Hand Pruners: Useful for trimming interfering parts.
- Tape measure: Essential for ensuring accurate placement of the stove.
- Pipe wrench: Crucial for tightening and loosening gas pipe connections.
You will also need a tape measure. Precision is key and knowing the dimensions of your stove and kitchen area ensures perfect alignment. Lastly, a pipe wrench, indispensable for gas pipe connections.
Maintaining your tools is important as well. For example, regularly check the condition of your screwdriver’s head to prevent slippage during use. Similarly, keep the edges of your pruners sharp for clean cuts.
Beyond tools, consider safety equipment like gloves and goggles as working with gas involves certain risks. Always prioritize your safety when handling any DIY project at home.
Installing the Gas Lines: Step-by-Step
Purchasing a long, flexible gas line will make your work considerably easier. They are available in lengths between 24 to 60 inches.
Always opt for a new, flexible connector and avoid reusing old ones. Follow the manufacturer’s instructions to attach it to the supply pipe.
Wrap yellow Teflon tape around the black supply pipe’s male connector. Using yellow tape is standard for gas installations.
Attach the flexible gas line connector to the supply pipe connector by hand. Be cautious not to cross threads during this process.
Use an adjustable wrench to hold the black supply line connector. Tighten the flexible gas connector fitting until snug but avoid overtightening.
| Steps | Tools | Tips |
|---|---|---|
| Attach flexible connector | New flexible gas line, Adjustable wrench | Avoid overtightening |
| Apply Teflon tape | Yellow Teflon tape | Wrap around male connectors, don’t use white tape |
| Add stove fitting | Stove connection kit, Adjustable wrench | Select proper size, avoid using Teflon tape on this step |
| Tighten connections | Flexible gas line, Stove connector, Adjustable wrench | Avoid cross threading and overtightening |
| Inspect installation | Your eyes and hands! | No loose fittings & no smell of gas leak |
| Ensure to follow manufacturer’s instructions for safe installation. | ||
Remember, utmost care is required during gas stove installations. A poorly installed gas stove can lead to dangerous situations.
Venting the Gas Stove: Guidelines and Tips
Why is venting a gas stove necessary?
Venting your gas stove ensures efficient operation and prevents harmful fumes from infiltrating your home. It’s a crucial part of gas stove safety.
What does the vent do?
The vent in your gas stove expels excess heat and hazardous byproducts like carbon monoxide outside, preserving indoor air quality.
Are all gas stoves vented the same way?
No, venting methods can vary. Some stoves require a hood with an exterior vent, while others may just need sufficient room for air circulation.
Can I install the vent myself?
While it may appear feasible, handling a gas appliance can be precarious. It’s often best to hire a qualified plumber for a safe installation.
What kind of maintenance does the vent need?
Your stove’s vent should be cleaned periodically to prevent build-up that could impair its functionality. A yearly check-up by a professional is recommended too.
What happens if my stove isn’t properly vented?
Poorly-vented stoves can lead to hazardous conditions within the property, including carbon monoxide accumulation, which can be life-threatening if undetected.
How often should vents be checked?
Vents should ideally be inspected twice a year to ensure they are not obstructed or damaged. Regular maintenance promotes safety and efficiency.
Installing and Securing the Gas Stove in Place
Installation of a gas stove demands utmost care and understanding. The first step is to Disconnect the Gas Supply.
You need to disconnect the gas supply line. Turn on the stove briefly to burn any surplus gas, then move it away from the wall.
- Remove Damaged Gas Supply Pipe: Identify the gas valve connected to the pipe. Use an adjustable spanner to loosen the connection, rotating it counterclockwise. Disconnect the pipe carefully.
- Preparations Before Installing Flare Fittings: Thoroughly clean the male threads on both the gas valve and stove using a lint-free cloth. Inspect all fittings and pipes for potential damage or scratches. If damaged, replace immediately.
- Install Flare Fittings: Attach the flare pipe to the gas stove, ensuring that threads are aligned before tightening clockwise. Repeat this process with the other fitting on the gas valve. Make sure both connections are secure but not excessively tight.
- Testing for Leaks: Replace all cover plates and burner covers. Move your stove back into its original position, then switch it on to check for potential leaks.
This methodical approach ensures maximum safety while installing your gas stove.
Remember, every step in this process is crucial to secure the stove correctly, reducing the risk of gas leaks, which can lead to potential hazards.
If you detect a leak at any point during or after installation, turn off your gas supply immediately and contact a registered professional for assistance.
Testing for Gas Leaks After Installation
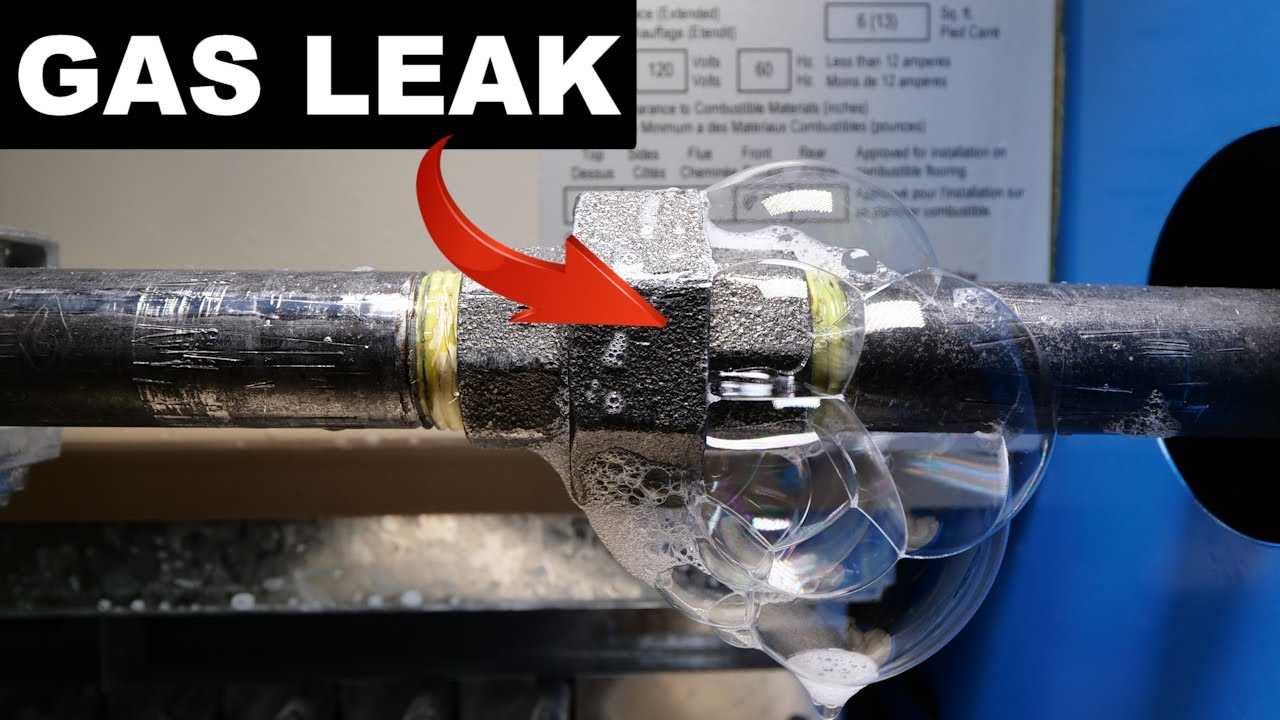
To test for gas leaks after installation, the first step involves creating a bubble solution. This solution will reveal any possible leaks.
A simple method is combining three tablespoons of dish soap with a quart of water. Stir this mixture well.
Add two teaspoons of liquid glycerin to the mixture. This ingredient aids in bubble retention, making leak detection more visible.
Give the solution overnight for optimal effectiveness. Just leave it in an open container.
When choosing your dish soap, avoid those containing ammonia or salt.
This is because these substances can be corrosive to copper pipes, potentially causing further issues down the line.
This DIY testing solution works thanks to surface tension — the force between molecules on a liquid’s surface.
Bubbles are a brilliant indication of gas leaks. Therefore, having a solution that creates lasting bubbles is excellent for spotting potential issues quickly.
Professional gas technicians recommend this soap-water mixture as it’s easy-to-make and effective.
Variants of this bubble formula can be found at kid-friendly sources such as the Exploratorium.
The essential goal is to embody properties that create long-lasting bubbles, thus showing gas leaks effectively.
Bear in mind, checking for gas leaks post-installation is a crucial safety measure.
If you notice bubbles appearing when applying your DIY solution on pipes, it’s best to contact professional help immediately.
Maintaining Your Gas Stove for Optimal Performance
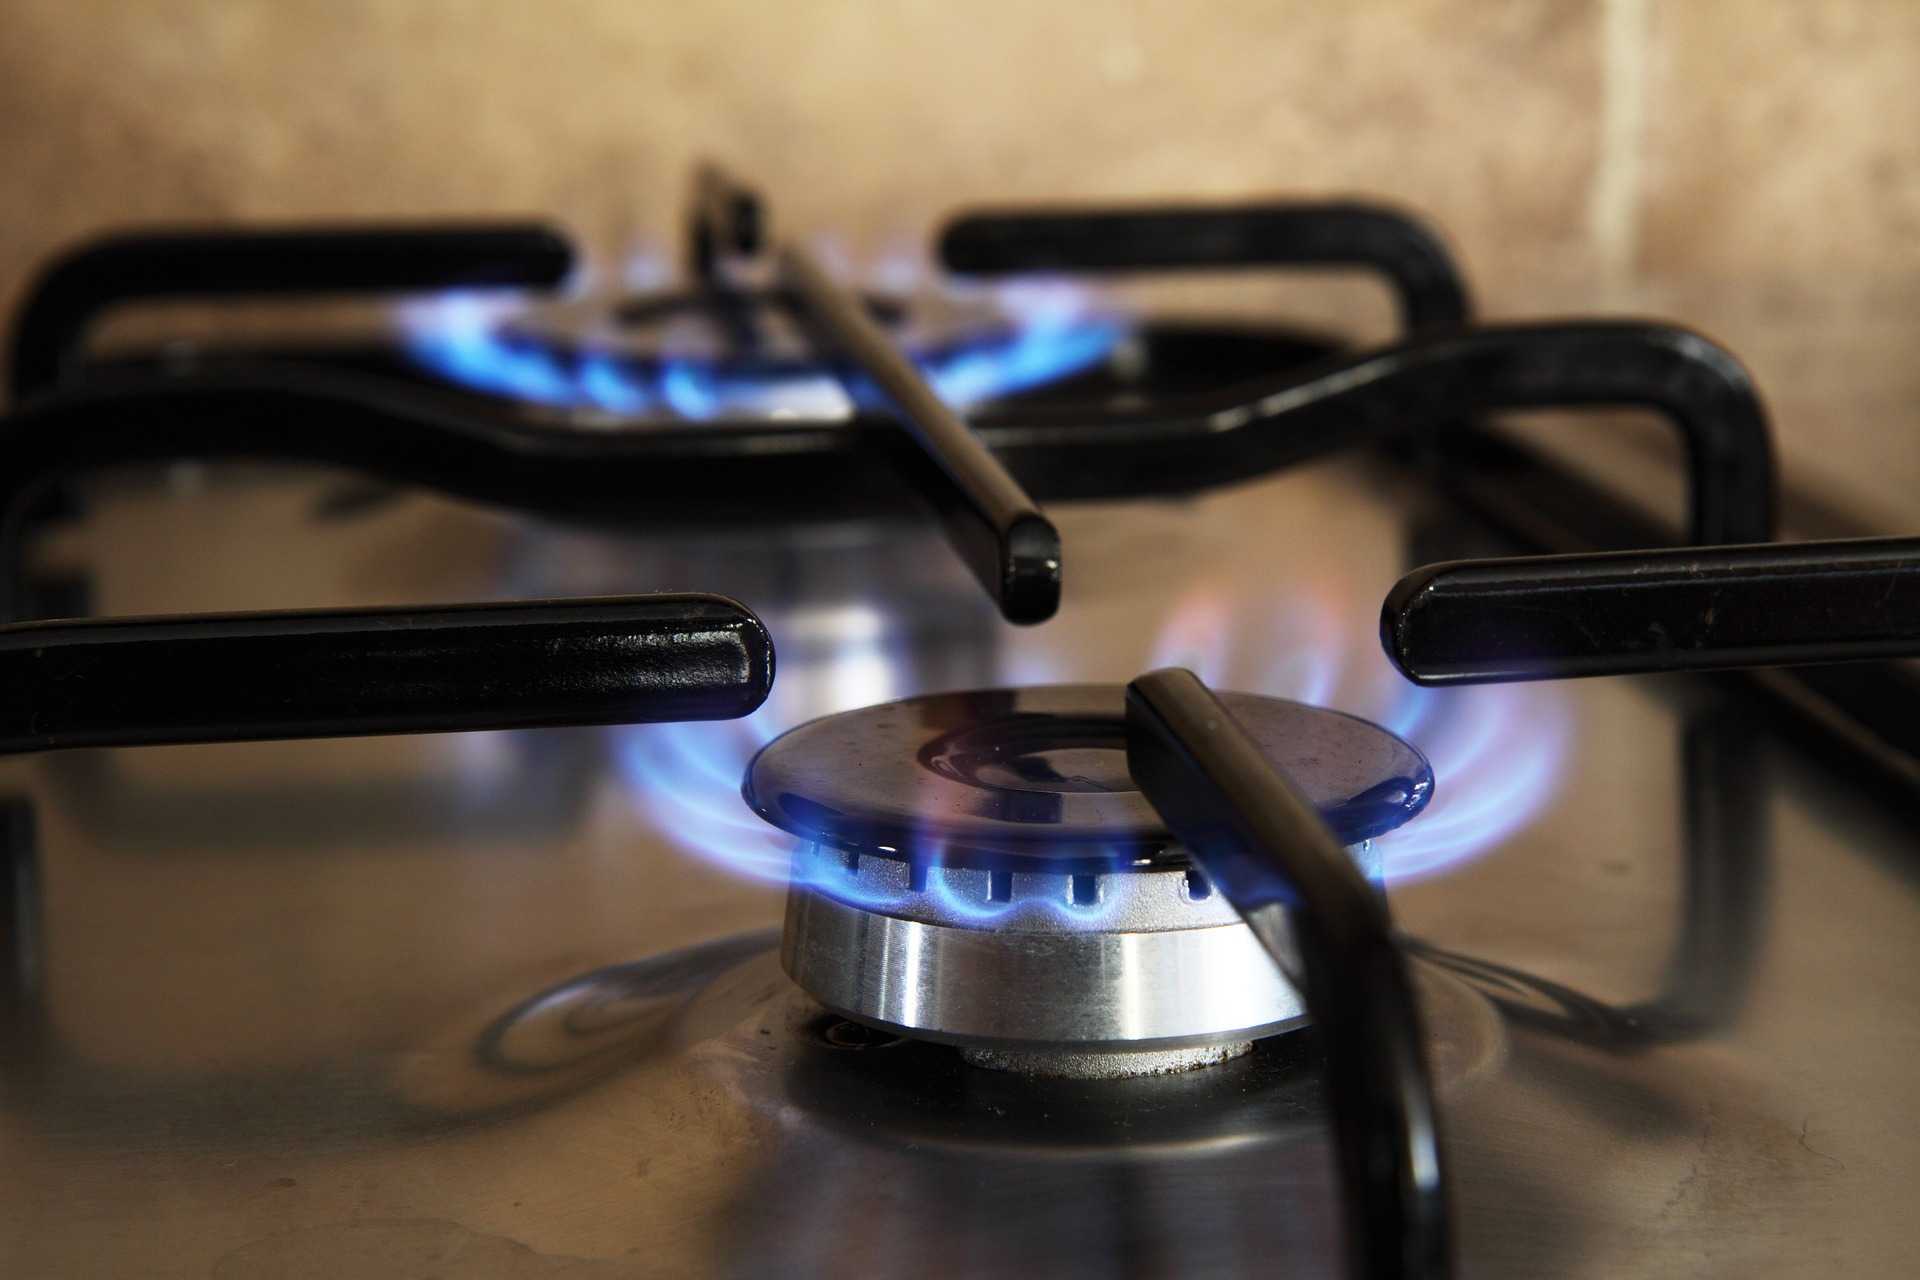
Gas stoves are popular because they provide superior temperature control and are generally more cost-effective than their electric alternatives. But, they do come with some disadvantages, impacting both your health and the environment.
Impact on Health
When in use, gas stoves release indoor pollutants such as carbon monoxide, formaldehyde, and nitrogen oxides (NOx). Overexposure to these substances can adversely affect your health.
“Nitrogen dioxide, a NOx gas, can cause respiratory issues like asthma and difficulty breathing,” warns environmental scientist Rob Jackson.
According to one study, children exposed to gas cooking are 42 percent more likely to have lifelong asthma. Another recent study revealed that some gas stoves release nitrogen dioxide levels exceeding environmental standards.
Environmental Consequences
The emissions from gas stoves also contribute to environmental harm. “Gas stoves release carbon dioxide pollution and leak unburned methane into the air,” says Jackson.
This methane emission has a climate impact equivalent to the annual carbon dioxide emissions of half a million cars. Interestingly, the study found that methane is released even when your stove is switched off.
Making Gas Stoves Safer
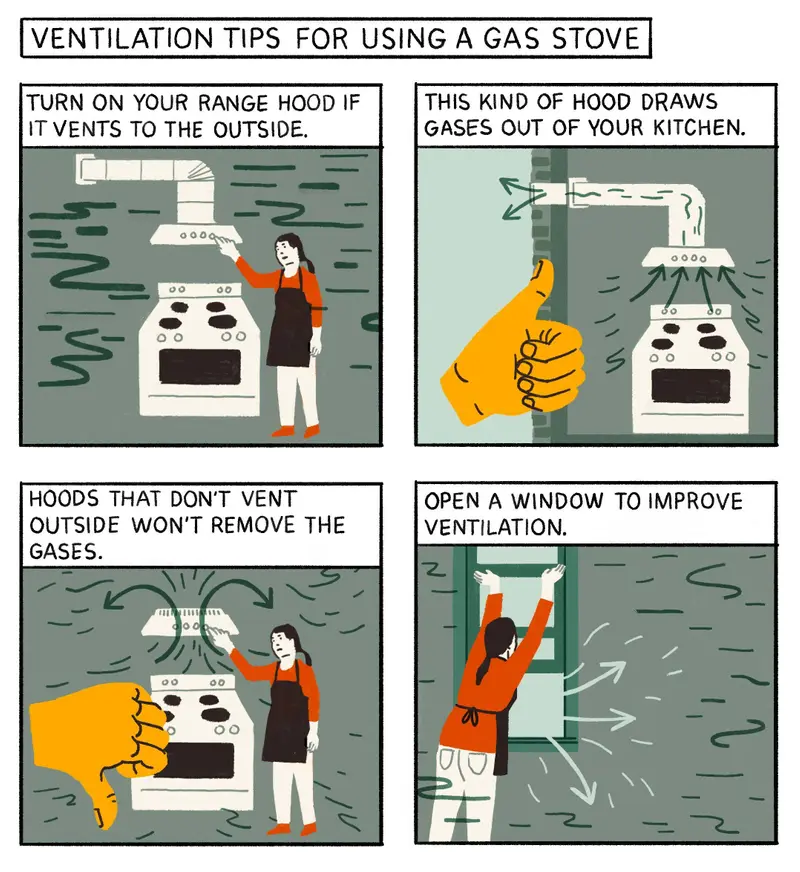
The good news is that there are ways to mitigate these risks. Using your exhaust fan while cooking improves kitchen ventilation and reduces indoor air pollution.
“Some hoods ventilate air outdoors – these are preferable,” advises Jackson. Meanwhile, keeping a window open whilst cooking brings in cleaner air from outside, further improving ventilation in your kitchen.
Air purifiers improve the overall air quality in your home by reducing indoor air pollution. However, they need regular maintenance to keep functioning efficiently.
Gas Stove Installation: Safety Tips and Precautions
Does your home have gas appliances? They might be convenient to use and more powerful, but improper usage can pose a risk. Here’s how you can stay safe.
If you detect a peculiar smell, often similar to rotten eggs, evacuate immediately. Then, promptly contact your natural gas provider.
Maintaining cleanliness around your gas appliances is also vital. Dust and lint can ignite when exposed to a gas flame. Regular vacuuming can mitigate this risk.
- Ensure devices are off after use. Leaving a gas stove on releases natural gas, creating a dangerous environment.
- Ventilate your home when using gas appliances. Although they produce little carbon monoxide, open doors or windows ensure it doesn’t build up inside.
- Schedule regular inspections of your gas appliances. Doing so will guarantee they are safe for use in your home.
Most homeowners do not get their appliances inspected until a problem arises. However, annual checks can prevent minor issues from becoming major risks.
Your family’s safety with gas appliances is paramount. By following these precautionary measures, you’ll reduce the risk of accidents in your home.
Stellar Stove Installs
Whether you’re an accomplished home cook or a budding gourmet chef, the installation of a top-tier gas stove can significantly elevate your culinary game. At Fergusons Plumbing, we specialise in providing professional, efficient and safe gas stove installations that meet all Australian standards. Trust us to introduce your kitchen to its most significant upgrade yet.

- Drip-Free Tap Repairs with Fergusons Plumbing Group - March 4, 2025
- Keep Your Home Safe with Our Specialist Gas Leak Detection Services - March 4, 2025
- Upgrade Your Taps with Our Stylish and Functional Tap Replacement Service - February 4, 2025
Related posts:
 Safe Installations: Gas Appliances by Fergusons Plumbing
 Indulge in Luxury - Expert Bath Installations for Your New Melbourne Bathroom
 Winter Warmth: Gas Appliance Installations in Sydney!
 Stay Cosy with Gas Heater Installations by Our Experienced Plumbers
 Safe Gas Line Installations by Fergusons Plumbing Group
 Create Ambiance: Gas Fireplace Installations in Sydney