In this discussion, we’ll provide key information about the nuances of gas line installations. This critical area of home maintenance is deserving of proper attention and understanding.
Allow me to present a selection of essential facets related to gas line installations.
- Securing Necessary Permits: The process involved in obtaining official permissions vital for gas installations.
- LMR and BTU Verification: It’s imperative to verify LMR (Load Management Relay) and BTU (British Thermal Unit) in your gas systems.
- The Right Installation Process: The correct procedure for a safe gas line installation is non-negotiable.
- Piping Systems Pressure Testing: Vital measures like checking pressure in your newly installed piping systems.
- Gas Line Leak Detection: Identifying any potential leaks in your gas lines is critical to safety.
- Source and Appliance Connection: Connecting the gas line between the source and the appliances correctly.
- Gas Line Extension Costs: Understanding potential costs associated with extending your existing gas line per appliance.
- Natural Gas versus Propane Cost: Being aware of the price differences between natural gas and propane for informed decisions.
The aforementioned points provide a comprehensive view of what goes into executing a proper gas line installation.
A Guide to Efficient Gas Line Installations
This guide serves as an overview of the process and its key elements, especially for Australian homeowners, who might not be familiar with such projects.
Beyond just the installation, the procedure includes essential components like obtaining necessary permits, performing testing on your piping systems, identifying any leaks, and considering cost factors.
It’s crucial to understand these aspects not only for efficient gas line installations but also for maintaining safety and regulatory compliance within your home.
Remember, a well-managed gas line installation adds to the overall health of your property in the long run.
Contents
- Obtaining Necessary Permits for Gas Installations
- Verifying LMR and BTU in Gas Systems
- Procedure for Safe Gas Line Installation
- Testing Pressure in your New Piping Systems
- Identifying and Fixing Leaks in Gas Lines
- Connecting the Gas Line: Source and Appliances
- Considering Gas Line Extension Costs By Appliance
- Differences: Natural Gas versus Propane Cost
- Gas-Line Grilling
Obtaining Necessary Permits for Gas Installations
For your gas installations, it’s vital to get the required permits. This includes any changes to specifics like contract terms, quantities accepted, or price paid.
Besides, the authorities need to be notified of changes in company name due to a merger or sale. A timely notification aids in maintaining a seamless operation.
Securing a blanket import/export authorization allows a company to engage in short-term gas transactions under contracts not exceeding two years.
Your company may wish to vacate its current permit. In such cases, prior identification of the holder and parent company is necessary. Along with this, you must provide sound reasoning for your vacate request.
In case of a name change or merger, you will have to submit a fresh application. The authorities also might require you to adjust your monthly reports following this change.
Long-term applications should detail contract provisions like base price, volume requirements, transportation costs among other aspects of the gas purchase or sales contract.
The application should include legal evidence demonstrating that gas import/export is within the corporate powers of your company.
It’s crucial that these applications are submitted at least 90 days in advance. This helps to ensure all necessary processes are completed on time.
The Import/Export Authorization Portal can be used for submitting applications and other requisite documents. Especially if your firm is new to using this platform, it could be greatly beneficial.
Verifying LMR and BTU in Gas Systems

It’s crucial to regularly verify the LMR and BTU in your gas systems. This procedure ensures that your system remains ENERGY STAR certified, a sign of efficiency and quality.
This verification process is done post-market, being administered by certification bodies (CBs). Products failing this test are barred from using the ENERGY STAR label.
Brand owners must be responsive to CB requests for information and payment surrounding this testing. The rate of testing varies by product category.
A brand owner’s testing rate may vary, as individual models associated with a test report and certification are treated as one unique model for verification testing nomination and results.
Verification tests are conducted at third-party labs unless an exception has been received from EPA. Brand owners can dispute test failure results before disqualification.
| Verification Stage | Responsibility | Outcome |
|---|---|---|
| Selection Phase | Certification Body (CB) | Products identified for testing |
| Procurement Phase | Brand Owner | Selected products procured for testing |
| Testing Phase | Certification Body (CB) | Verification tests conducted |
| Dispute Phase | Brand Owner | Potential disputes over test results |
| Outcome Phase | EPA & Brand Owner | Possible disqualification from the program |
| Table 1: Stages of Verification Testing in Gas Systems | ||
Disqualified products are listed on the ENERGY STAR integrity page, maintaining transparency for consumers.
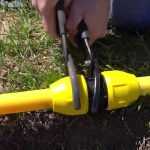
Procedure for Safe Gas Line Installation
The initial step involves assessing the best location for your new grill or appliance, taking into account safety and ease of access.
Next, sizing calculations are performed based on appliance gas usage and its distance from the main supply.
Prior to any installation, it’s key to turn off your main gas supply to avoid accidents.
The gas pipe is then installed with proper adherence to guidelines, ensuring secure sealing at joints and appropriate support.
| Steps | Description |
|---|---|
| Pressure Testing | Detects potential leaks in the new gas line before connecting the appliance. |
| Connection | Once proven safe, the appliance is connected to the gas line as per manufacturer’s instructions. |
| Final Inspection | A professional inspection is done to ensure compliance with safety standards. |
| Maintenance | Regular inspections by professionals helps identify potential issues early. |
| Table 1: | Key steps in safe gas line installation. |
The table highlights some essential steps for safe gas line installations.
Ventilation is crucial to avoid harmful gas buildups, so always ensure areas housing gas appliances are well-ventilated.
Always hire licensed professionals when dealing with gas lines – this maintains safety and ensures compliance with local codes.
Use materials specifically designed for gas lines to prevent potential leaks or corrosion over time.
Schedule yearly inspections by a qualified professional to keep your gas lines in top condition.
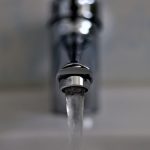
Testing Pressure in your New Piping Systems
After installing a new gas line into your home, it’s essential to test the system’s pressure. This step ensures the safety and performance of your gas appliances.
Incorporating procedures outlined by ASME’s B31 Code for pressure piping can guide this process. Here are some key steps you may follow:
- Close all outlets: Make sure all appliances connected to the gas line are turned off.
- Attach manometer: A specially designed gauge to measure the gas pressure in your pipes.
- Open gas supply: Once attached, you can open your gas supply to start the test.
Be attentive for any significant drops in pressure which could indicate a leak within the system.
If you feel unsure or unsafe at any point during this process, contact a professional plumber or gas fitter. They’re trained and accredit under stringent regulations such as B31.1 – 2012 – Power Piping for industrial plants or B31.8S – 2012 – Managing System Integrity of Gas Pipelines.
Keep in mind that different types of piping systems like Power Piping (B31.1), Fuel Gas Piping (B31.2), Process Piping (B31.3) require varied testing methods. So, always seek expert advice when dealing with gas lines.
Your safety is of utmost importance. Always prioritize it when dealing with any type of gas installations or adjustments in your home.
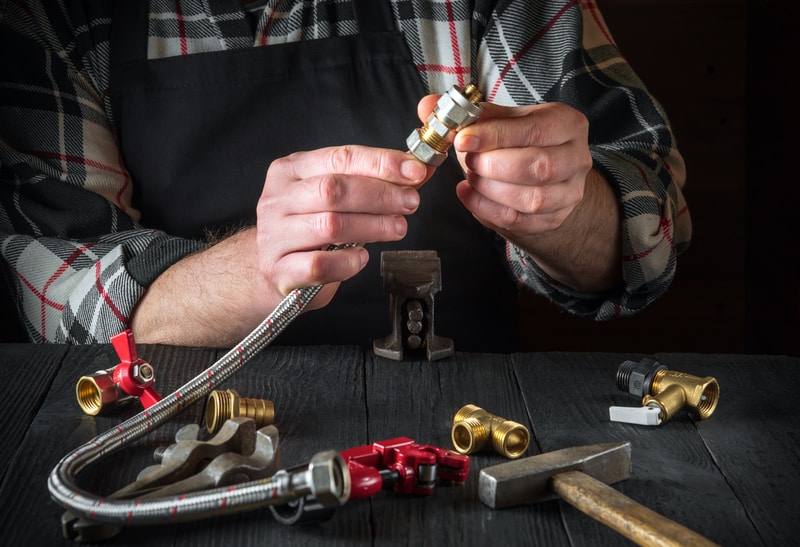
Identifying and Fixing Leaks in Gas Lines
What should be done before installing a new gas stove?
Ensure the area for the new stove is clean and debris-free. The next step is to shut off your home’s gas supply.
You’ll typically find this in the basement near the front of your house.
How can I access my current gas supply?
Pull out your range and shut off its gas valve. This shutoff could be located behind the range or below in the basement.
With the gas off, you can pull your stove away from the wall until you can access your existing flexible gas line.
How to manage a gas line connection?
To manage a connection, brace the connector fitting with an adjustable wrench while turning the flexible line connector with a pipe wrench.
This might cause a minor odour of gas. You can then use a leak detector to check for any leaks in these connections.
What to do if there’s a leak?
If there’s a leak, shut off the gas, tighten all connections and perform another leak check. Then gently push your stove into position.
Avoid kinking or forcing the corrugated connector into sharp bends when moving it towards the wall.
What precautions should be taken when connecting to the supply pipe?
When connecting, use yellow Teflon tape around male connector attached to the black supply pipe. Thread carefully to avoid cross-threading on connector fittings.
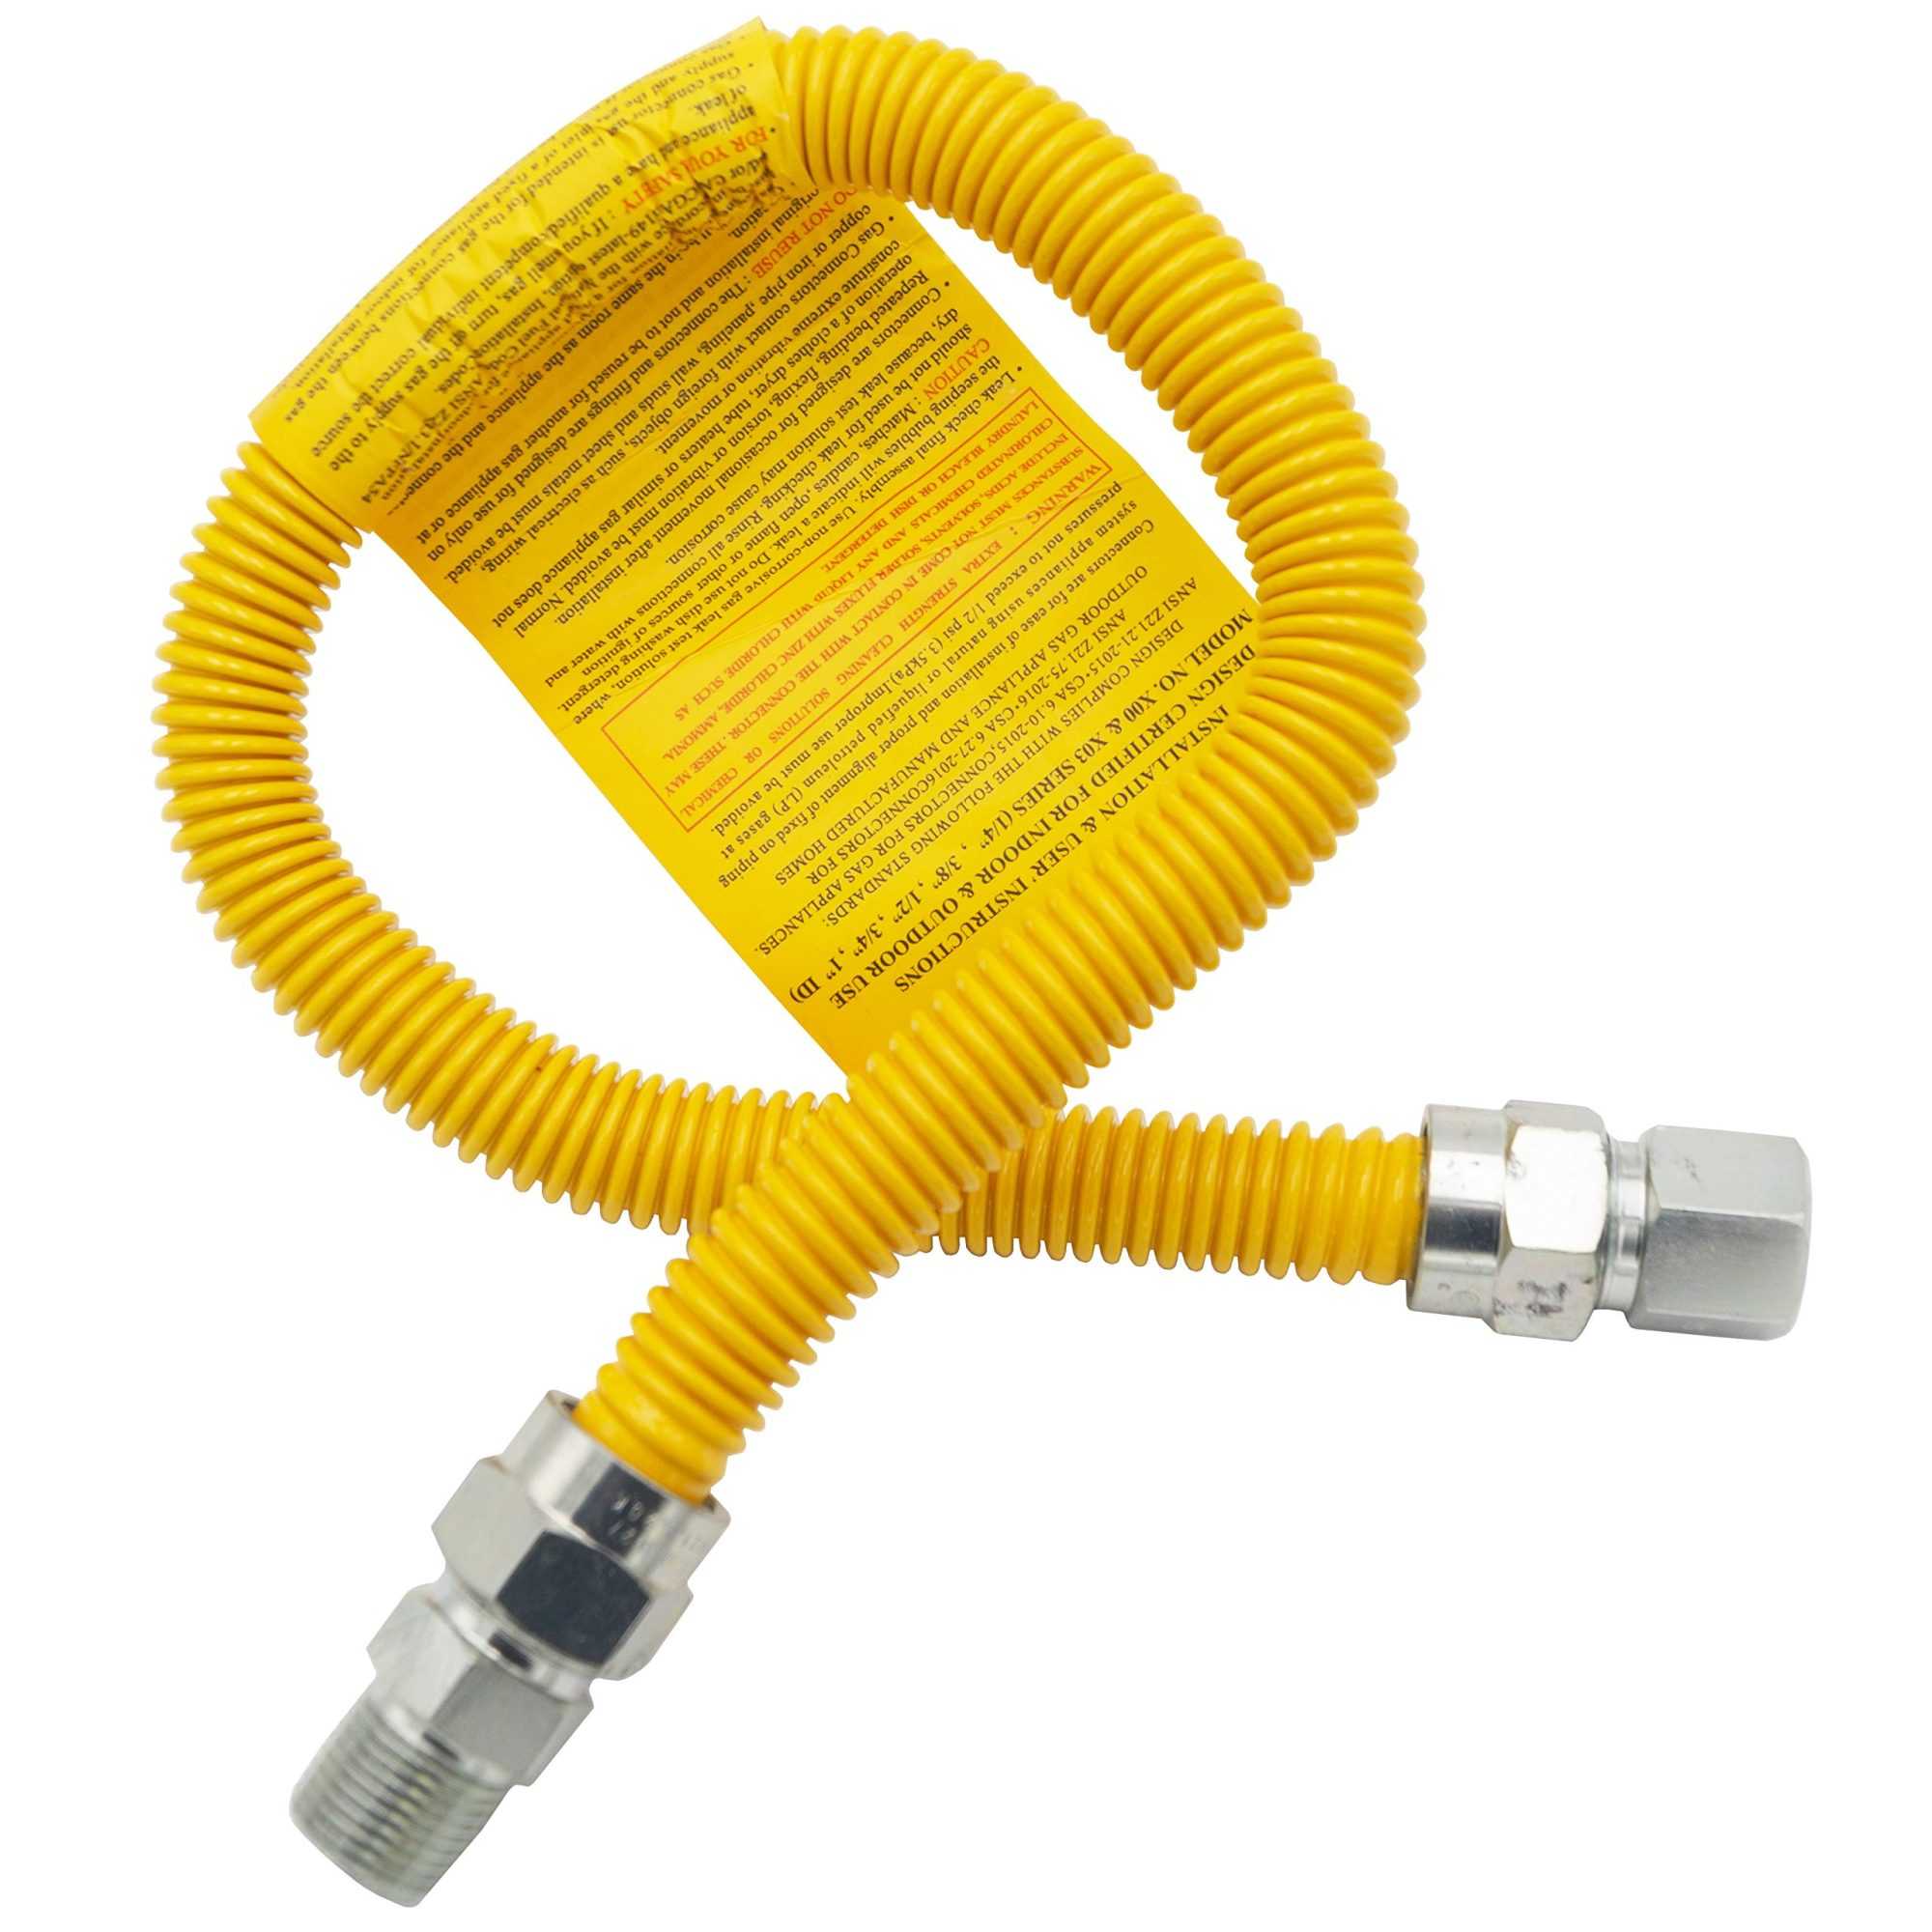
Always use a new flexible gas connector. Don’t reuse an old one and make sure it doesn’t pass through a floor or wall.
What after proper installation of the gas line?
After the installation, open both stove and main gas valves. If a leak is detected, repeat the process of shutting off the gas supply, tightening connections and rechecking.
Connecting the Gas Line: Source and Appliances
When considering gas line installations, it’s crucial to comprehend the connection between source and appliances. Here, I will guide you through this process.
Understand Your Source
Knowing your gas resource is fundamental for a successful installation. Ensure you are familiar with its characteristics.
Tools for Installation
You will need essential plumbing tools and safety gear. Also, consider professional help if you’re unsure about the procedure.
Install the Gas Line
Start by switching off the gas. Then remove the protective cap from the pipe stub-out at your home.
This step is where you install your new gas line. Take care to avoid cross-threading that could lead to leaks.
Connecting to Appliances
The next step is to connect your appliance. Make sure it matches with the gas feed line as per the manufacturer’s instructions.
Once everything is in place, switch on the gas supply and use a leak-detection solution to check for any leaks.
Avoiding possible risks is key so always follow safety guidelines. Remember, if in doubt, call a professional plumber.
Considering Gas Line Extension Costs By Appliance
When deciding on a gas line extension for your kitchen stove, costs may vary. You can anticipate spending between $200 to $1,000 based on the complexity of the installation process and your kitchen layout.
Outdoor Entertainment Costs
If you’re looking at installing an outdoor grill or firepit, it’s crucial to factor in costs. A simple installation will cost about $20-$25 per linear foot. However, outdoor fireplaces tend to be more expensive, averaging around $3,000.
Bear in mind potential landscaping costs too; these can add an additional $1,500 to $5,000 to your budget.
Essential Home Appliances
The cost of extending a gas line for your dryer can range from $150 up to $1,000. Meanwhile, having a gas line for your water heater installed will usually cost between $750 and $1,400.
Heating Systems and Other Appliances
Should you consider installing a gas generator, anticipate paying between $360 to $740 per line. If you’re thinking about a furnace installation, costs might be slightly higher due to the need for larger pipes.
For general appliances such as a new cooker or heating system, a single gas line installation will typically range between $150 and $650 with the average cost lying between $271 and $904.
Differences: Natural Gas versus Propane Cost
When comparing natural gas and propane, a key factor is their energy content.
A cubic foot of propane has 2,516 British Thermal Units (BTUs).
By comparison, the same amount of natural gas contains just 1,030 BTUs.
- Propane is twice as efficient as natural gas when it comes to energy output.
- In terms of combustion, a 100,000 BTU natural gas furnace burns around 97 cubic feet an hour, while a propane furnace uses only 40 cubic feet.
- If natural gas costs $15 per 1,000 cubic feet, you receive approximately one million BTUs. This is equivalent to slightly over 11.20 gallons of propane.
- Considering propane costs $2.50 per gallon in this scenario, natural gas would be the more affordable option.
This price difference may encourage homeowners to consider switching from propane to natural gas.
However, if natural gas prices rise above $20 per 1,000 cubic feet, propane becomes the more cost-effective alternative for heating your home.
The choice between natural gas and propane often depends on the current market prices of each.
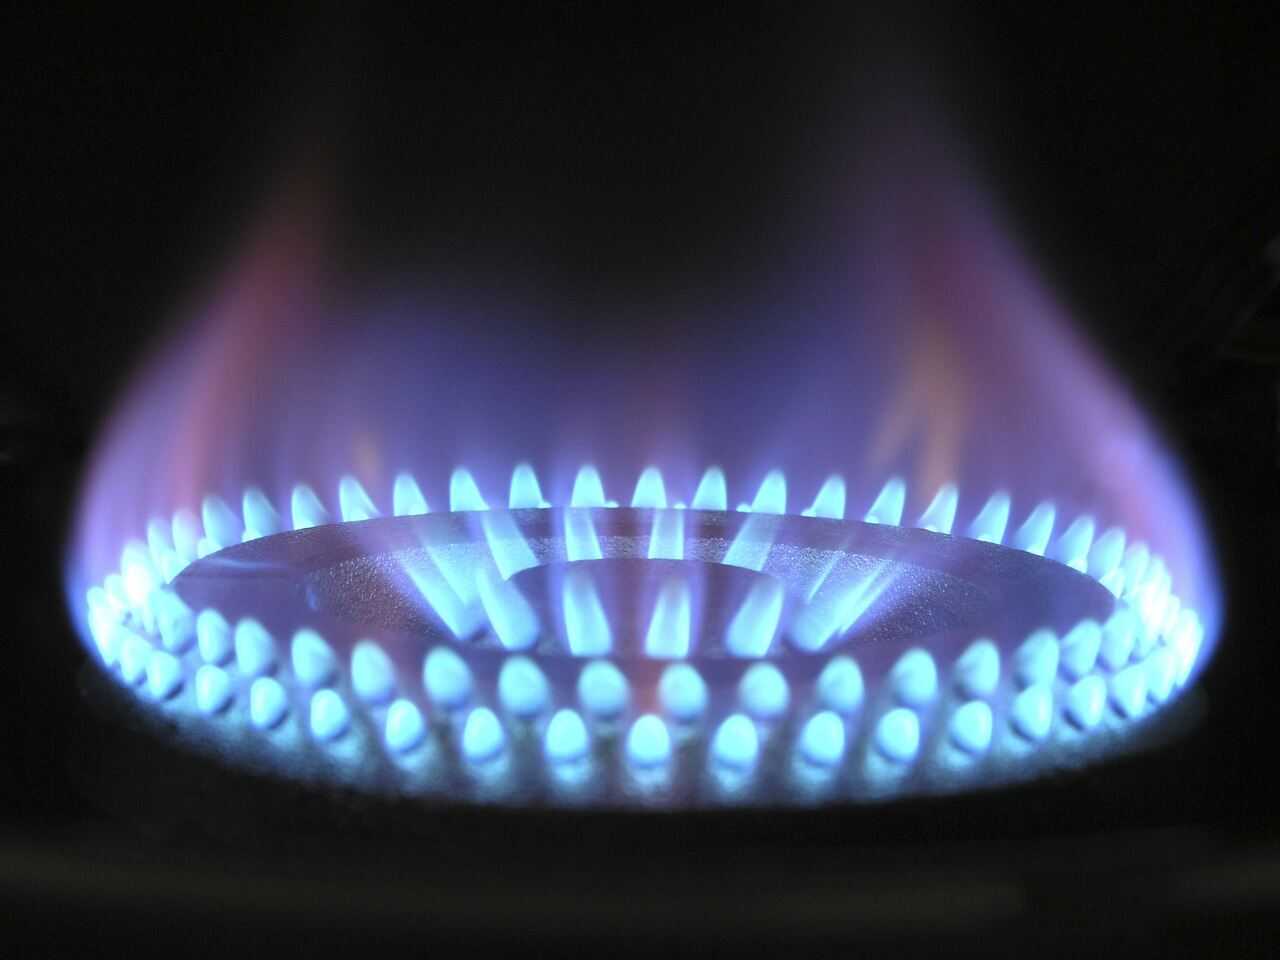
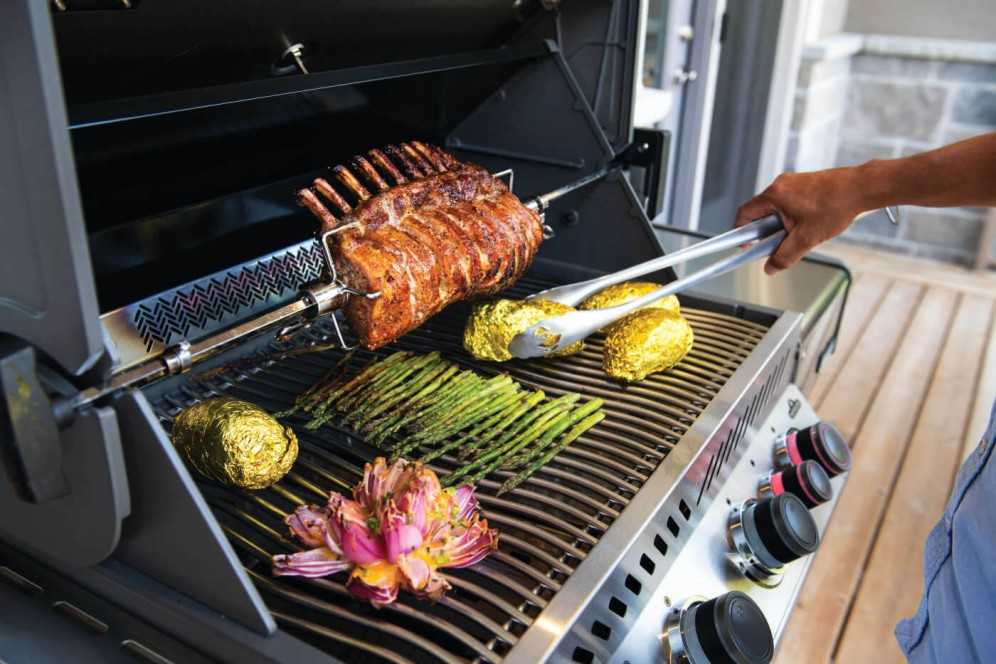
Gas-Line Grilling
Whether you’re a seasoned barbecuer or a newbie to the grilling game, a gas line installation for your grill is a game changer. It provides an uninterrupted fuel source, meaning you never have to worry about running out of gas during your BBQ again. Invest in getting a professional plumber for safe and efficient installation, ensuring endless BBQ bliss.

- Drip-Free Tap Repairs with Fergusons Plumbing Group - March 4, 2025
- Keep Your Home Safe with Our Specialist Gas Leak Detection Services - March 4, 2025
- Upgrade Your Taps with Our Stylish and Functional Tap Replacement Service - February 4, 2025
Related posts:
 Safe Gas Line Installations by Fergusons Plumbing Group
 Gourmet Cooking. Expert Gas Stove Installations
 Safe Installations: Gas Appliances by Fergusons Plumbing
 Create Ambiance: Gas Fireplace Installations in Sydney
 Restore Flow Fast with Fergusons Plumbing’s Emergency Sewer Line Repairs
 Stay Cosy with Gas Heater Installations by Our Experienced Plumbers